Blog

  • Dramatic Photo Art | Photoshop Manipulation Tutorial

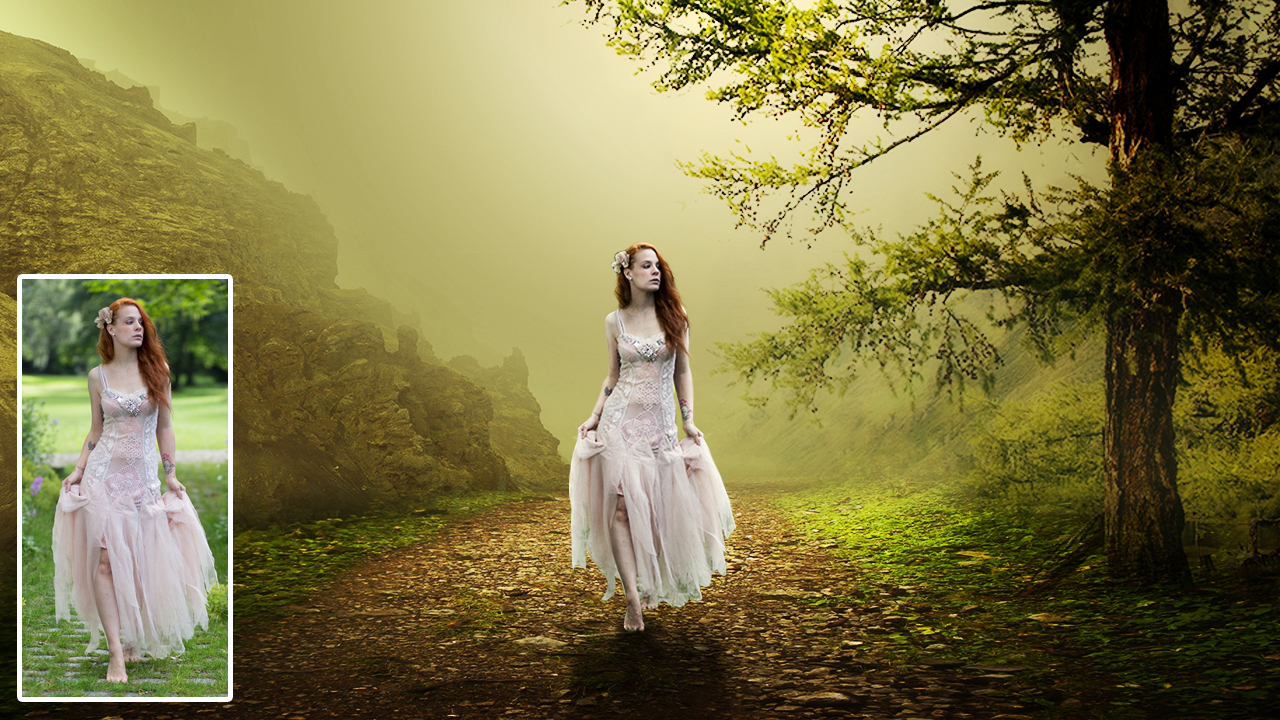
    Dramatic Photo Art | Photoshop Manipulation Tutorial

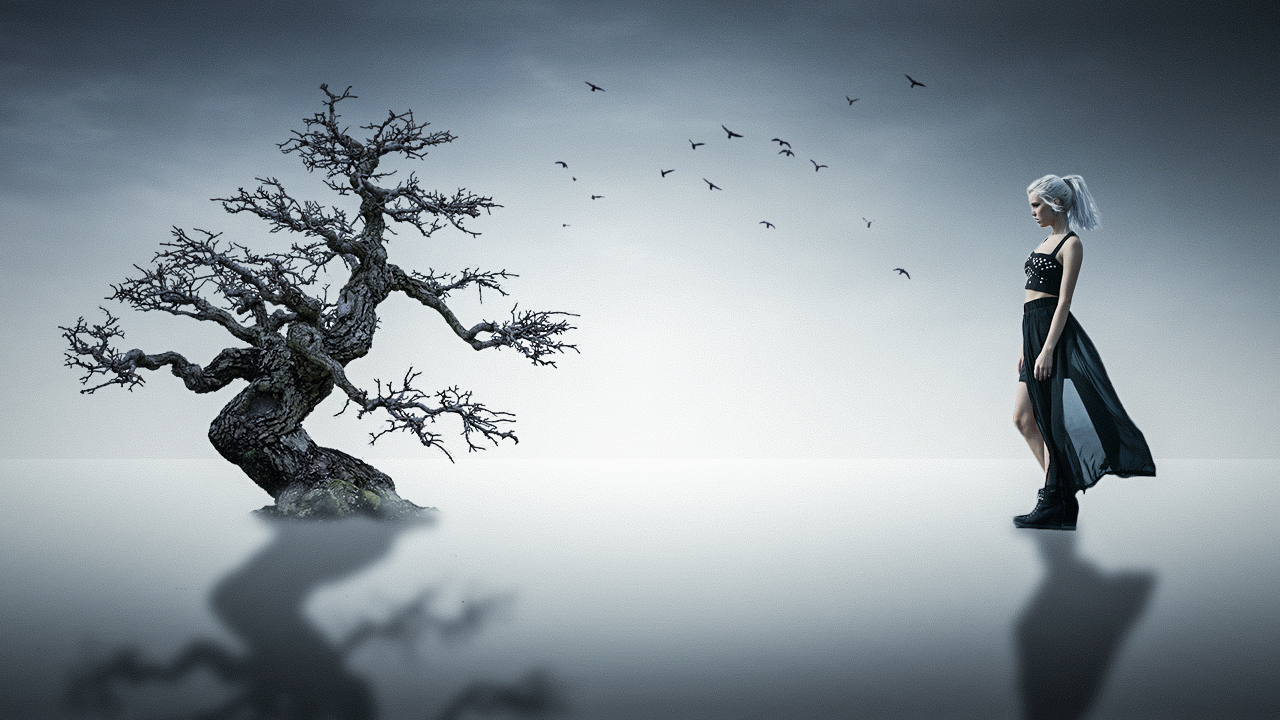
    In this video tutorial you learn how to create Dramatic Photo Art Photoshop Manipulation in Adobe Photoshop CC

    You will also learn from this video:
    -How to remove background of model/tree
    -How to add soft sun lights
    -How create shadows
    -How to lighten and darken  area of object

    Step by Step

    1-Open Photoshop and create one new document (1280x720px)
    2-Create one new solid color adjustment layer.
    3-Place your background image and adjust it. Add layer mask take gradient tool set foreground color black and background transparent and then drag up to down and from sides.
    4-Add new brightness/contrast adjustment layer and increase the brightness and contrast, select the layer mask take gradient tool set foreground color black and background color transparent and then drag it from down to up create one new blank layer set foreground color black and drag the gradient tool from down to up, change the blend mode from normal to soft light and decrease the opacity a little.
    5-Place tree image, right click on layer then click on rasterize layer. Take eraser tool and erase unwanted area of the image and then change the blend mode from normal to multiply then go to image>adjustment>brightness/contrast and then increase the brightness and contrast.
    6-Place mountain image and move the layer down to upper of solid color layer. Press Ctrl+T resize and adjust it, rasterize the layer and go to image>adjustments>color balance and play with angles to match the color with background, change the blend mode from normal to multiply, add layer mask take brush tool set foreground color black and background color white and erase the sky.
    7-Create one new layer upper to the mountain image take soft brush tool and set foreground color yellowish and paint once, press Ctrl+T and resize it according to sun light.
    8-Place model to the top of all layers, rasterize the layer select any one selection tool of your choice and make selection, after making selection add layer mask. press Ctrl+T resize it according to background.
    9-Duplicate the layer press Ctrl+U and drag the Lightness angle to -100 bring it down to model layer, press Ctrl+T and adjust it for shadow. Now go to filter>Blur>guassion blur after adding blur then decrease the opacity and create one new blank layer take soft brush tool decrease the brush opacity and brush it for shadow.
    10-Create one new brightness/contrast adjustment layer and increase the brightness and then invert layer mask by pressing Ctrl+I. Take soft brush tool set foreground color white and paint it on edges according to light.
    11-Create one new Photo Filter adjustment change filter to yellow color
    12-Create one new gradient map adjustment layer set color black and white, change the blend mode from normal to overlay and decrease the opacity a little.

    Video Tutorial

    IMAGES:

    Tree

     Mountain 

    Background

     Model 

    Music Credit:

    Music by BENSOUND https://www.bensound.com/royalty-free-…
    Creative Commons — Attribution 3.0 Unported— CC BY 3.0
    https://creativecommons.org/licenses/b…
    Music promoted by Audio Library https://youtu.be/odCWcV6Jv90
  • Basic Photo Manipulation in Photoshop

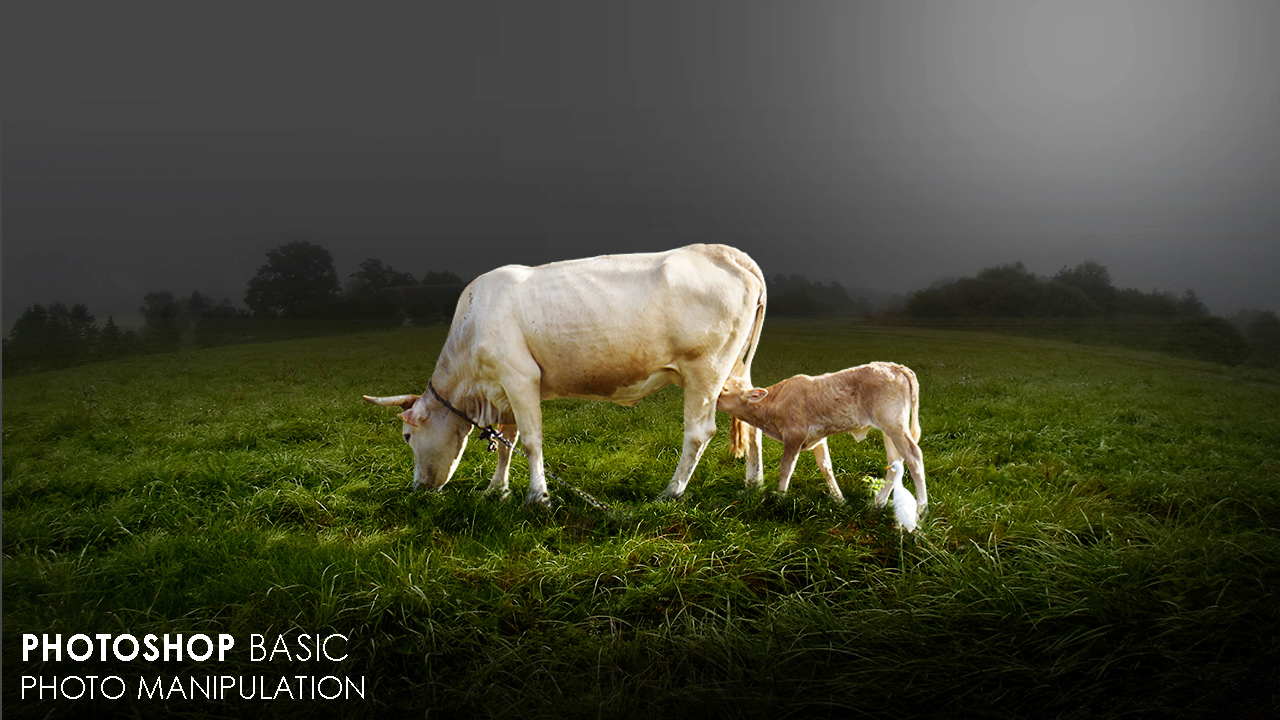
    Basic Photo Manipulation in Photoshop

    In this video tutorial you will learn how to manipulate photo in Photoshop

    You will also learn from this video:
    -How to add moon lights
    -How to adjust object on grass
    -How to highlight or dark

    Step by Step

    1-Open Photoshop and create one new document 1280x720px.
    2-Place background image and adjust it to canvas. Duplicate the layer change to bottom layer blend mode from normal to multiply, add layer mask on upper layer take gradient tool set foreground black and background transparent and drag it from up to center. Select bottom layer press Ctrl+T, right click and then click on Warp and drag it up from center.
    3-Place cow image and rasterize the layer. Select eraser tool and erase the unwanted elements. Add layer mask take grass brush tool and brush it on foot for grassing.
    4-Create one new brightness/contrast adjustment layer below the cow layer. increase the brightness and invert the mask by pressing Ctrl+I. Take soft brush tool and paint once or twine now press Ctrl+T and resize according to light.
    5-Create one new blank layer below the cow layer and change the blend mode from normal to soft light, take soft brush tool and create cow shadow.
    6-Create one new blank layer take soft brush tool set foreground color white and paint once. Change the bend mode from normal to soft light and then press Ctrl+T and resize, adjust it for moon light.
    7-Create one new gradient map adjustment layer set color black and white change the blend mode from normal to overlay and decrease the opacity.

    Background 


    Cow 

  • How to add sun lights | How to blur background in Photoshop | Part-2-2

    How to add sun lights | How to blur background in Photoshop | Part-2-2

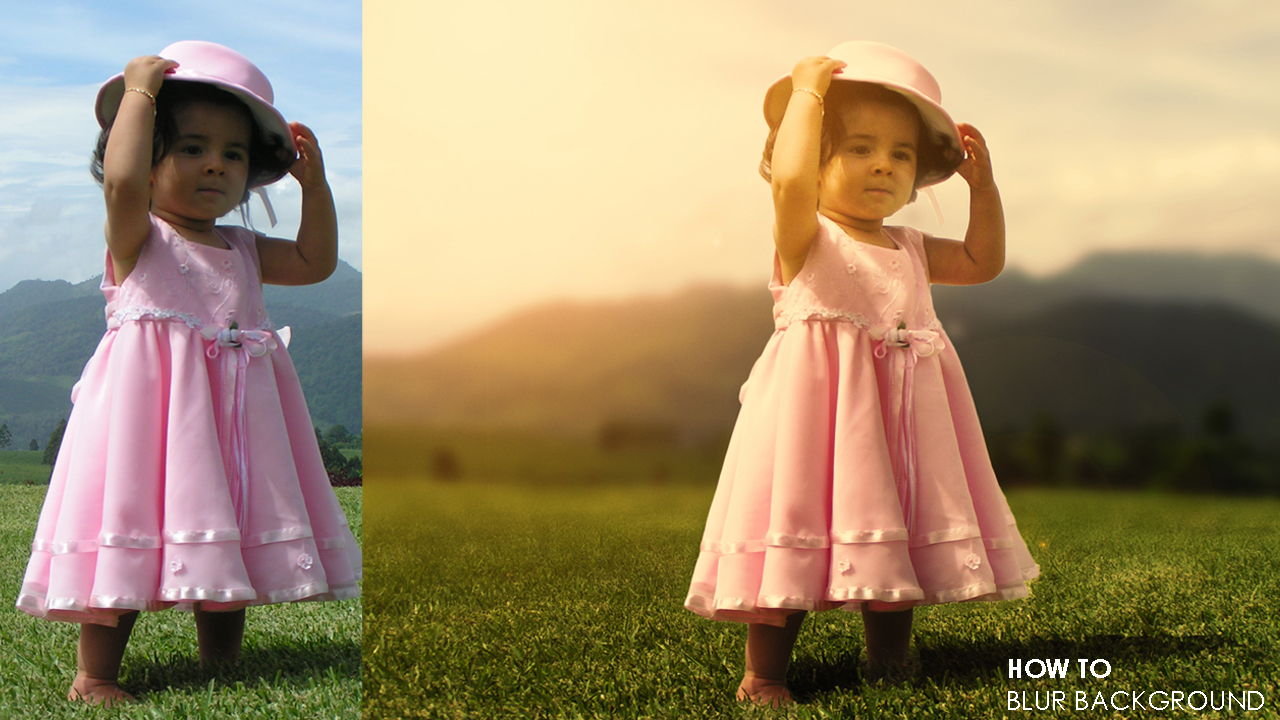
    In this part-2 video tutorial you will learn how to add sun lights to photos in Adobe Photoshop.

    Part-1: https://youtu.be/79DLQB1kMXQ

    Image Credit: 

  • 2  Simple Steps to Blur Background in Photoshop | Part-1-2

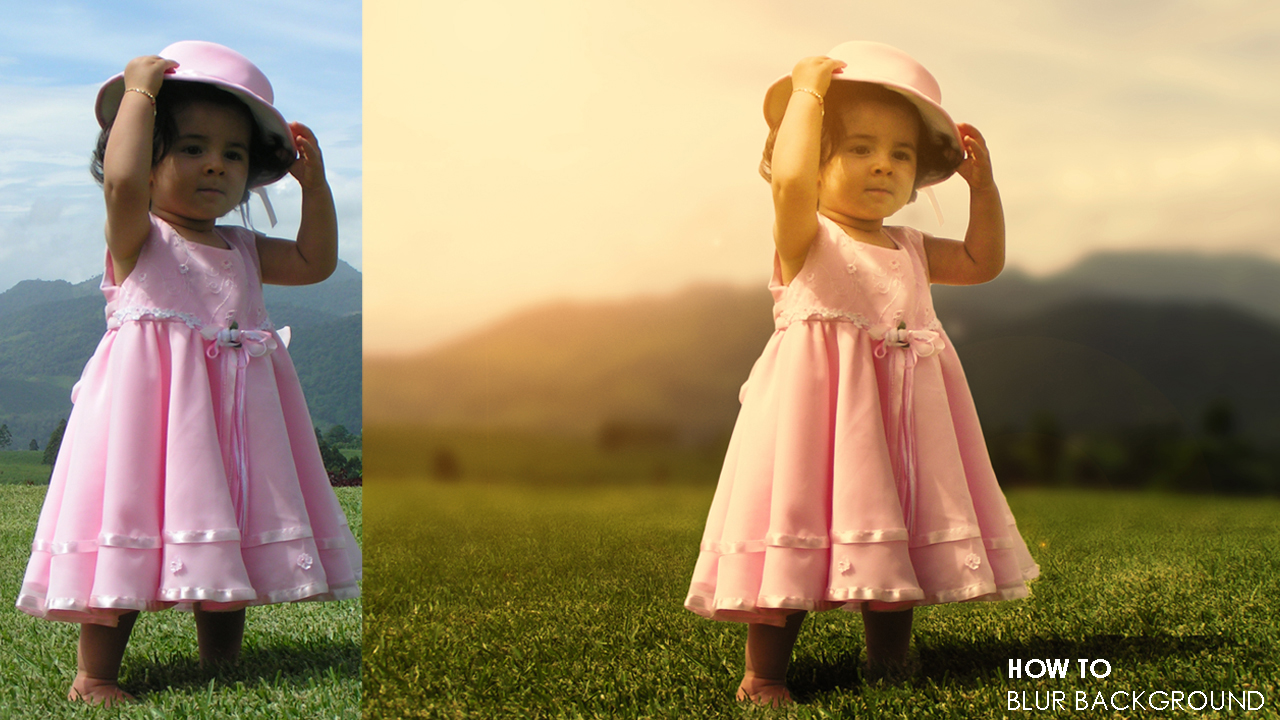
    2 Simple Steps to Blur Background in Photoshop | Part-1-2

    In this video tutorial you will learn How to blur background in Photoshop with 2 simple steps.

    Method-1

    1-Open your image in Photoshop and duplicate it.

    2-Make selection of object and duplicate it by pressing Ctrl+J. Now make selection of duplicated layer by pressing Ctrl and click on layer thumbnail select the bottom layer and go to select>modify>expand change the expand value. Now go to Edit>Fill and select content aware fill and then click OK.

    3-Go to filter>blur>tilt-shift and then change the value and direction according to your choice.

    Method 2


    1-Open your image in Photoshop and duplicate it.

    2-Make selection of object and duplicate it by pressing Ctrl+J. Now make selection of duplicated layer by pressing Ctrl and click on layer thumbnail select the bottom layer and go to select>modify>expand change the expand value. Now go to Edit>Fill and select content aware fill and then click OK and duplicate it.

    3-Go to filter>blur>gaussian blur change the value according your choice.

    4-Add layer mask take gradient tool set foreground color black and background color white and then drag it from down to center.

    Image Credit: 

  • Damaged Photo Repair | Remove Dust and Scratches | Photoshop Tutorial

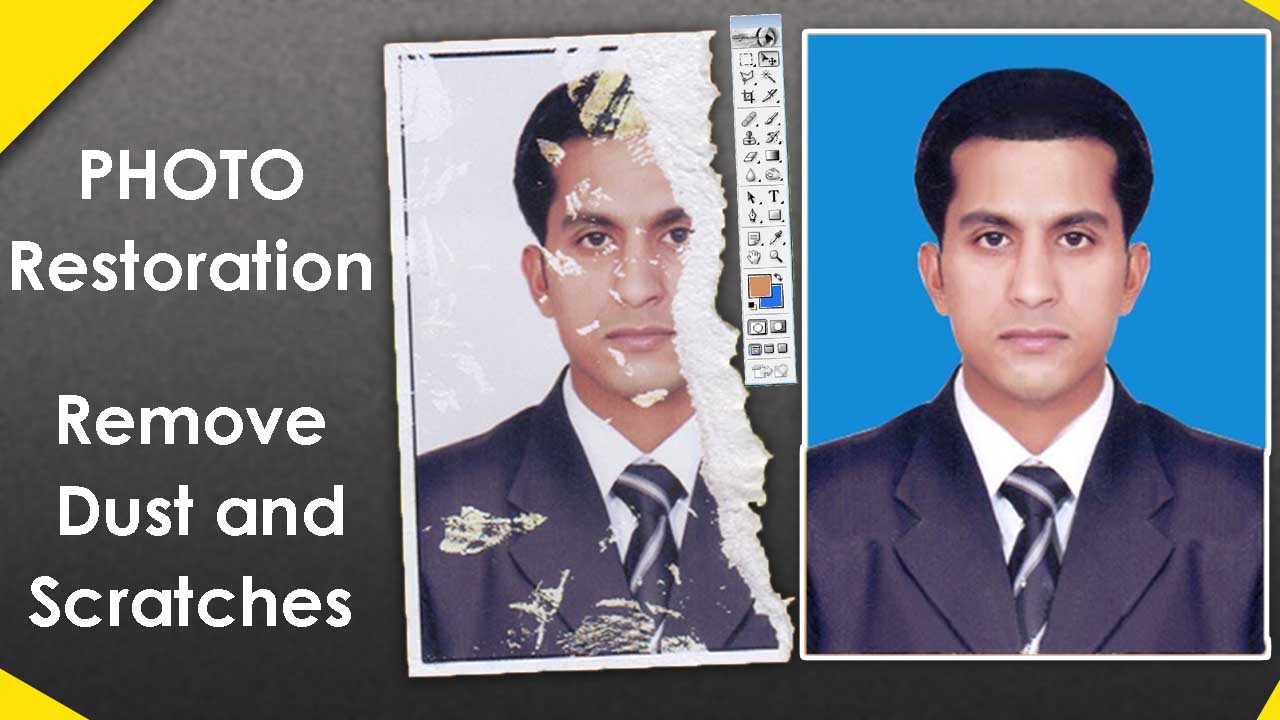
    Damaged Photo Repair | Remove Dust and Scratches | Photoshop Tutorial

    In this video you will learn how to remove scratches form photo and how repair damaged photo in photoshop 7.0.


    Video Tutorial

    RELATED VIDEOS: Best Way to Colorize Black and White Photo in Photoshop: https://youtu.be/dcVkWbPVzGg Photo Restoration | Remove Dust and Scratches in Photoshop: https://youtu.be/YXGTg1QBGjE How to Scan / Convert Photo Negative Into Digital Photo In Photoshop: https://youtu.be/BcdTw9eY7cM Old Photo Restoration | Colorize a Black and White Photo | Damaged Photo Repair in Photoshop: https://youtu.be/PD0WnOKWfCc WATCH MORE: Business Card Design in Photoshop: https://goo.gl/F7ZTHP Cracked Face Effect | Photoshop Tutorial: https://goo.gl/6BQyrc Banner Design using Urdu InPage CorelDRAW X6: https://goo.gl/EttN6U Photoshop Tutorials Playlist: https://goo.gl/zLkpYQ

    ————————————————————————
    Music Credit: On My Way Kevin MacLeod (incompetech.com) Licensed under Creative Commons: By Attribution 3.0 License https://creativecommons.org/licenses/b…

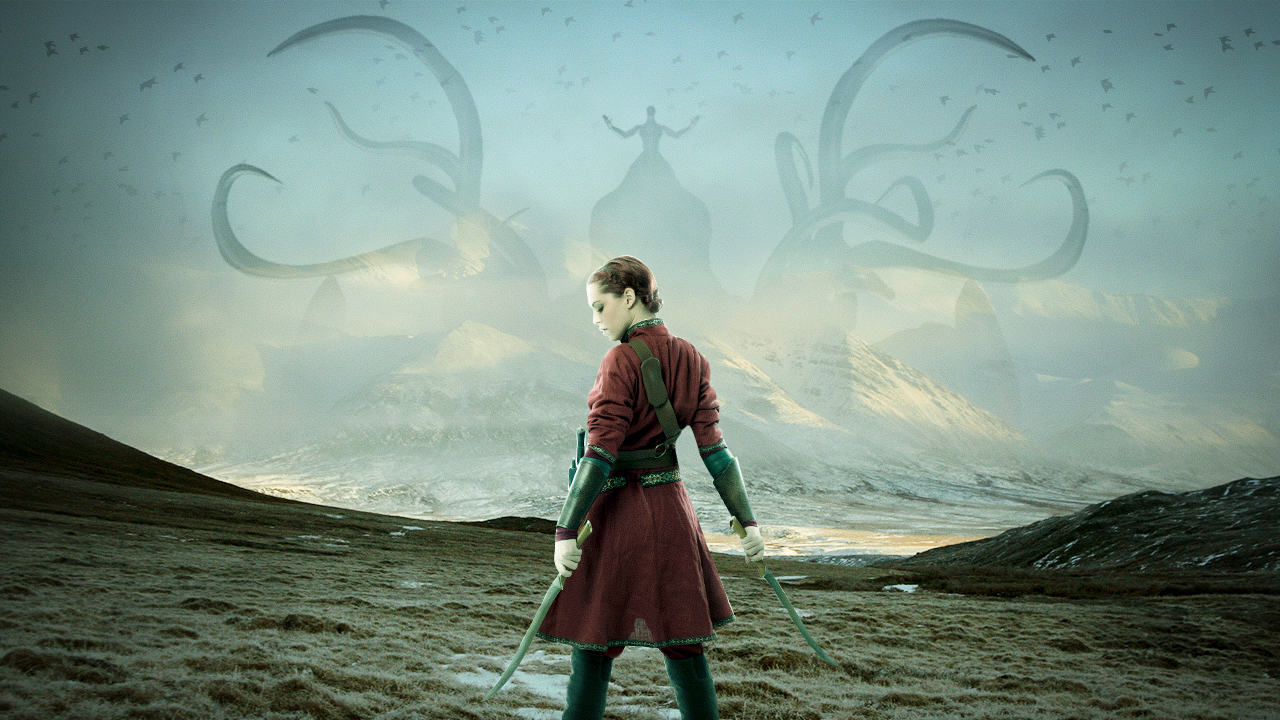
  • Concept Art | Photo Manipulation Effects Tutorial in Photoshop

    Concept Art | Photo Manipulation Effects Tutorial in Photoshop

    In this video tutorial I am going to show you how to create concept art, Photo Manipulation Effects in Photoshop

    Video Tutorial


    Downloads
    Tree: 

  • Night War – Photo Manipulation |Photoshop Tutorial

    Night War – Photo Manipulation |Photoshop Tutorial

    In this video tutorial I am going to show how to create a fantasy night war photo composition in adobe photoshop cc.

    Video Tutorial

    Downloads

    Birds

    Model

    Zalgo

    Background

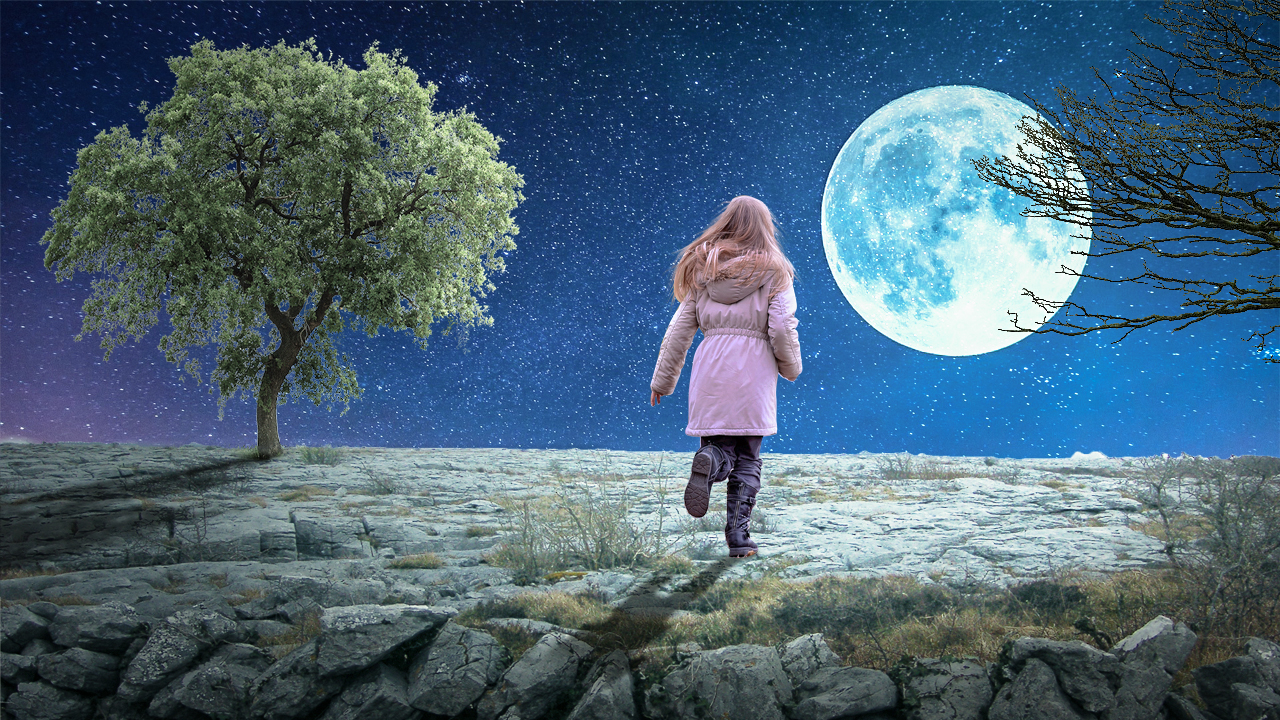
  • Child Interest – Fantasy Photo Manipulation | Photoshop Tutorial

    Child Interest – Fantasy Photo Manipulation | Photoshop Tutorial

    In this video tutorial I am going to show you how to manipulate/composite photos in Adobe Photoshop.

    YOU WILL ALSO LEARN FROM THIS VIDEO:
    >Photo Composition/Manipulation
    >How to add night sky
    >How to add star sky
    >How to remove background.
    >How to create moon lights
    >How to create shadows

    Downloads