Category: Photo Restoration

  • How to Repair Damaged Photo | Old Photo Restoration in Photoshop

    How to Repair Damaged Photo | Old Photo Restoration in Photoshop

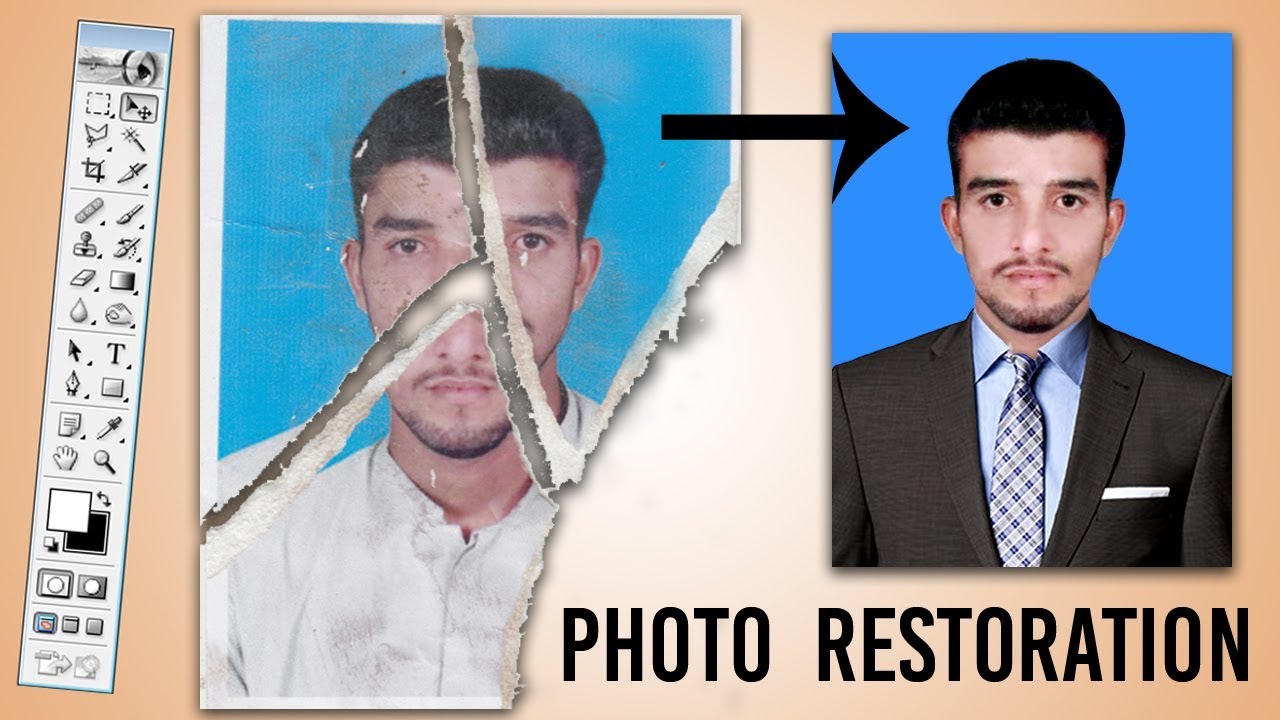
    In this Video tutorial you will learn How to Repair Damaged Photo, Removing Scratches, Replace Cloth, Colorizing and retouching in Adobe Photoshop.
    How to Repair Damaged Photo | Old Photo Restoration in Photoshop | Al Qadeer Studio


    Step By Step
    1-Open your damaged photo in Photoshop.

    2-Take crop tool and crop the image’s important part.

    3-Now we have to remove background. First we have to unlock the layer by double clicking on layer. Now take pen tool and make selection of the object, when you reach the starting point of the pen tool selection then right click and click on make selection, Now press Ctrl+J to duplicate the selected area.

    4-Now add solid color between the original layer and duplicated layer.


    REMOVE SCRATCHES

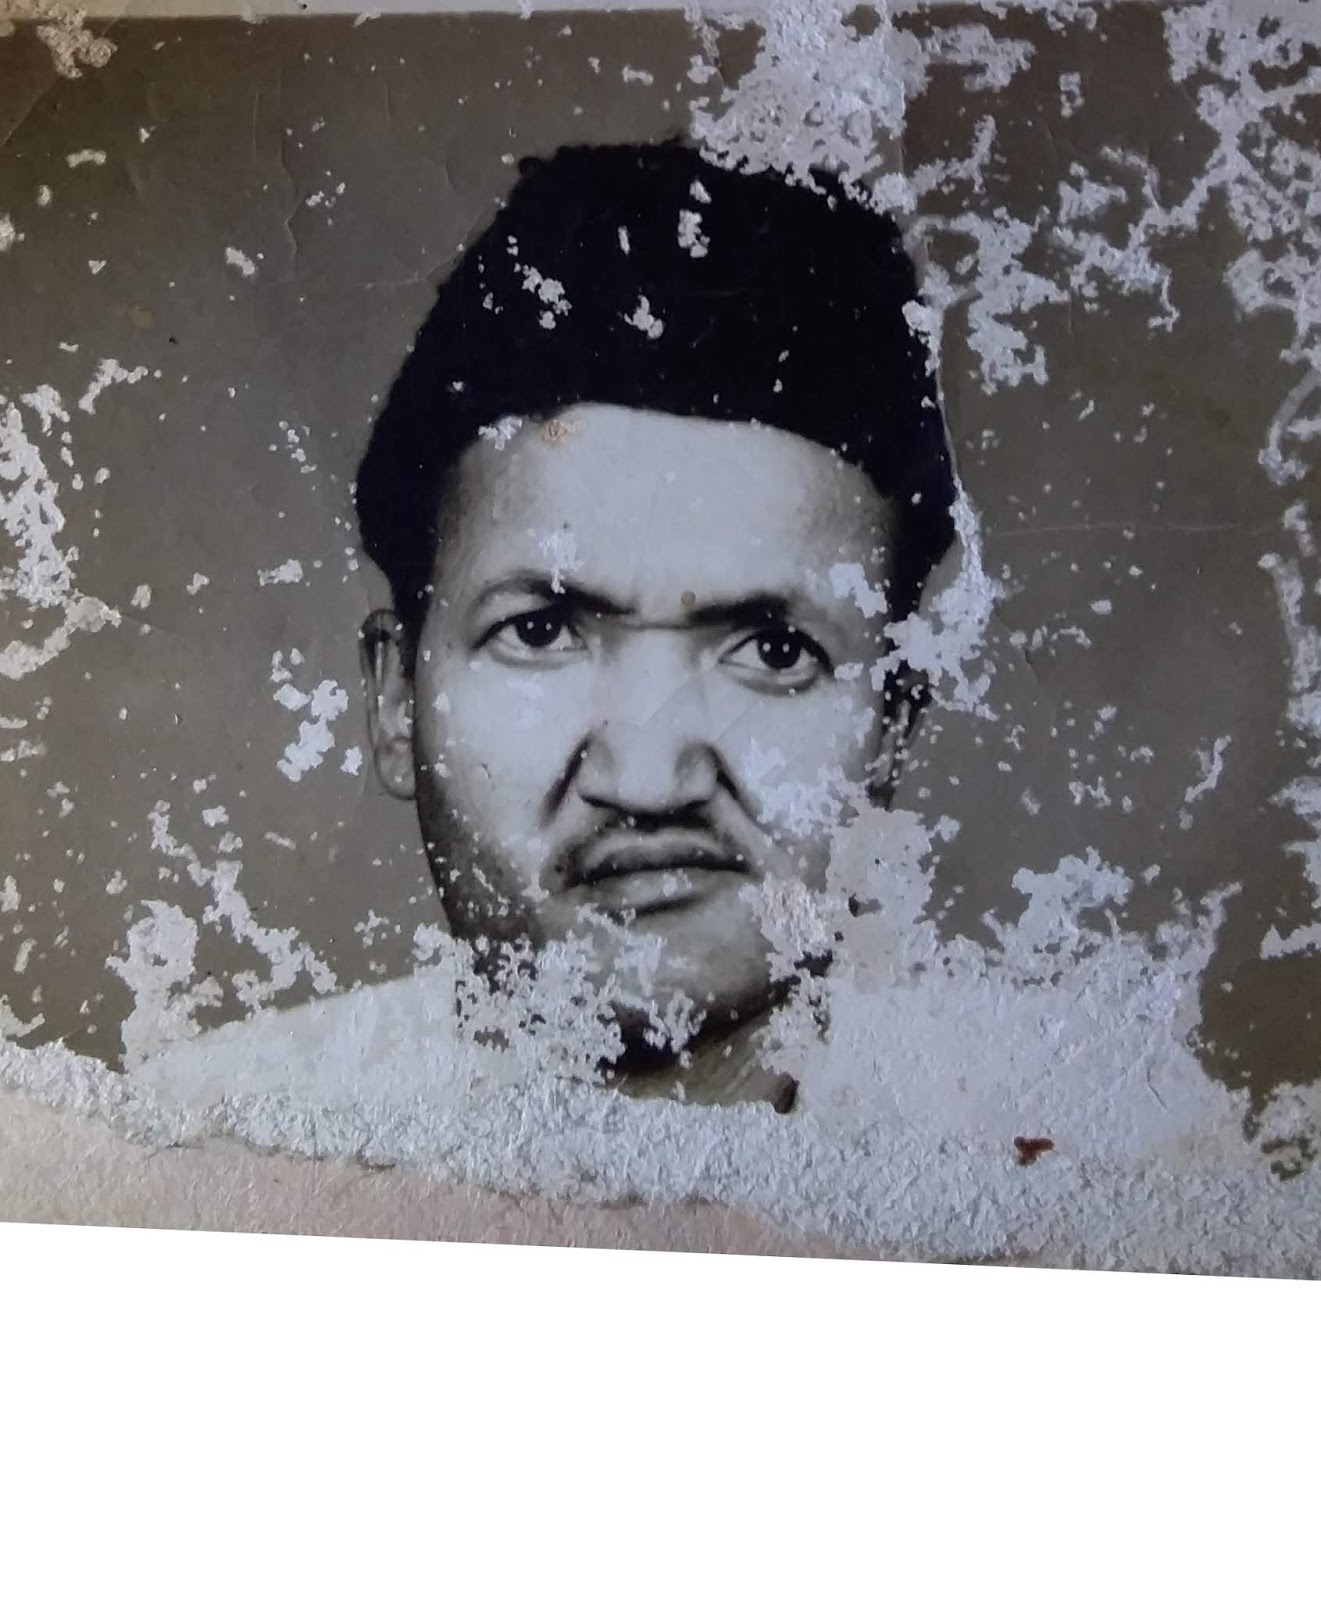
    5-Select the duplicated layer and take Clone stamp tool. Press Alt and choose similarly place for scratches. when you select a place then left Alt key and simply click on scratch. It will replace the scratches with place of you taken a sample by pressing Alt. Similarly do on face, cape, nose, ear.


    Somewhere it is not possible to find details of image’s to remove scratches. You can see this image’s left side beard, bottom side beard, neck and clothes. We use here a techniques to repair it.

    Now we want to repair left side beard. you can see we can’t find the details or not possible to take sample for cloning. Here the right side beard is clear so we have to copy the right side beard to replace left side beard.

    6-Take Lasso tool and make selection of right side beard than press Ctrl+J (to duplicate) Press Ctrl+T right click on it and then click on flip horizontal and bring it to left beard side. Now decrease the opacity of layer to see details of original image, again press Ctrl+T and then rotate it or resize it and warp it according to the original image. When you adjust it then increase the opacity of layer. Now add Layer mask and take soft brush tool and then brush on the edges of the layer. now press Ctrl+E to merge with the bottom layer. Now you can see mostly scratches are replaced.

    Now repair the bottom side of beard. Here is we cannot find any similarly place to select and copy and replace the bottom side of beard. We have to find any other matching beard image for our image.

    7-Place other’s image and make selection of bottom beard and press Ctrl+J to duplicate the selected area. Make it black and white by pressing Ctrl+U drag the Saturation angle to -100. Take soft eraser tool and erase the edges. add blur a little bit(Filter>Blur>Gaussian Blur)  to match background beard. Similarly do same steps for neck and cloth replacing.


    COLORIZING

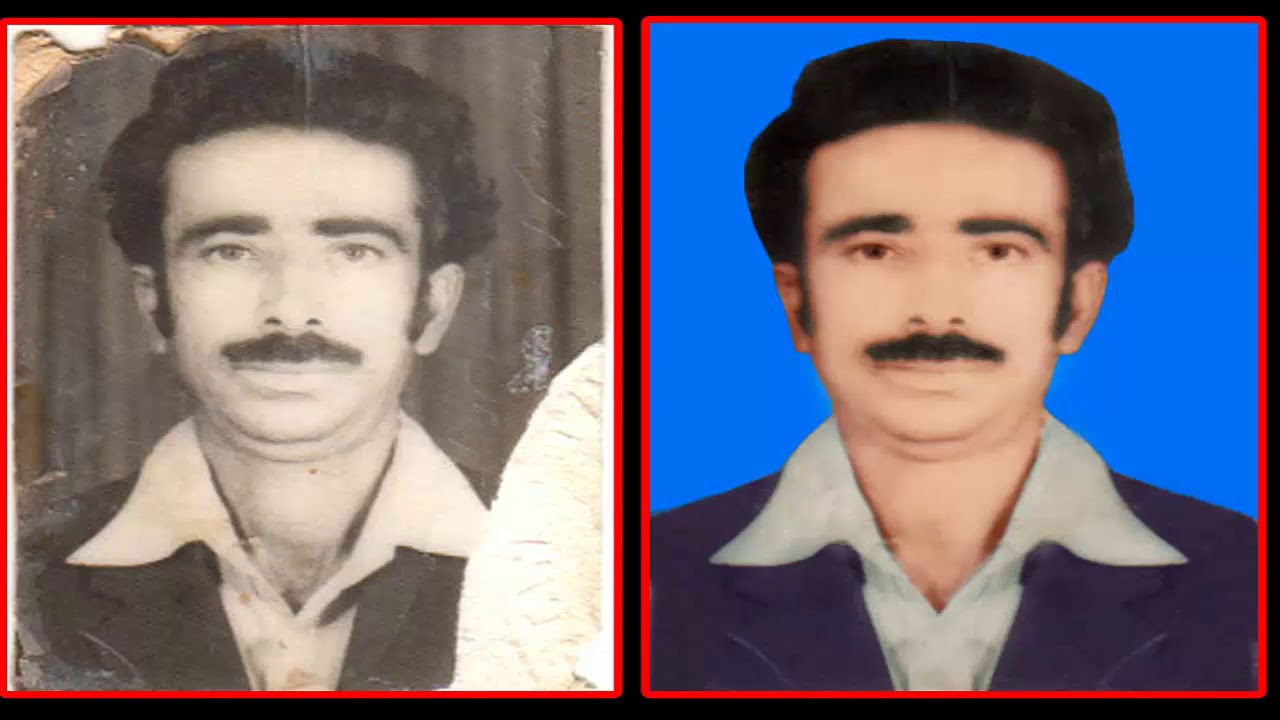
    8- Create a solid color layer for colorizing the image (#f79843) and change the blend mode from ‘Normal’ to ‘Color’ and then invert the layer mask (Ctrl+I)


    9-Take soft brush tool decrease the opacity 15-20% and brush it on face where you want to colorize the image. after adding color.


    10-Create a new blank layer and press Ctrl+Shift+Alt+E it will merge all layers in one new layer. duplicate the all merged layer and change the blend mode from normal to overlay. Now to Fiter>Other>High Pass it according to your choice, and then merge these two layers by pressing Ctrl+E.

    11- Create one new blank layer. Take soft brush tool, take sample color by pressing Alt key and brush it on where it is not colorized.


    TIMESTAMPS

    0:26 -First Step CROPPING 0:52 -Removing Background 2:03 -Removing Scratches 4:56 -Repairing Left Beard 9:14 -Repairing Bottom Beard 11:46 -Repairing Neck 13:55 -Replacing Cloth 15:48 -Coloring 17:14 -Retouching

    KEYBOARD SHORTCUTS I USED.

    Ctrl+T – Transform
    Ctrl+J – Duplicate Layer
    Ctrl+Alt+Z -Undo
    Ctrl+D – Deselect
    Ctrl – Select Multiple Layers
    Space – Move Image each around
    Alt – On brush tool to select sample of color
    Alt – On Clone Stamp Tool to take sample of place
    Alt+Mouse Wheel – Zoom in, Zoom Out
    Ctrl+E – Merge Selected Layers
    Ctrl+U – Open Hue/Saturation
    Ctrl+Shit+Alt+E – Merge All Layers into one new layer

    Images I Used:

  • How To Remove Anything from a Photo in Photoshop

    How To Remove Anything from a Photo in Photoshop

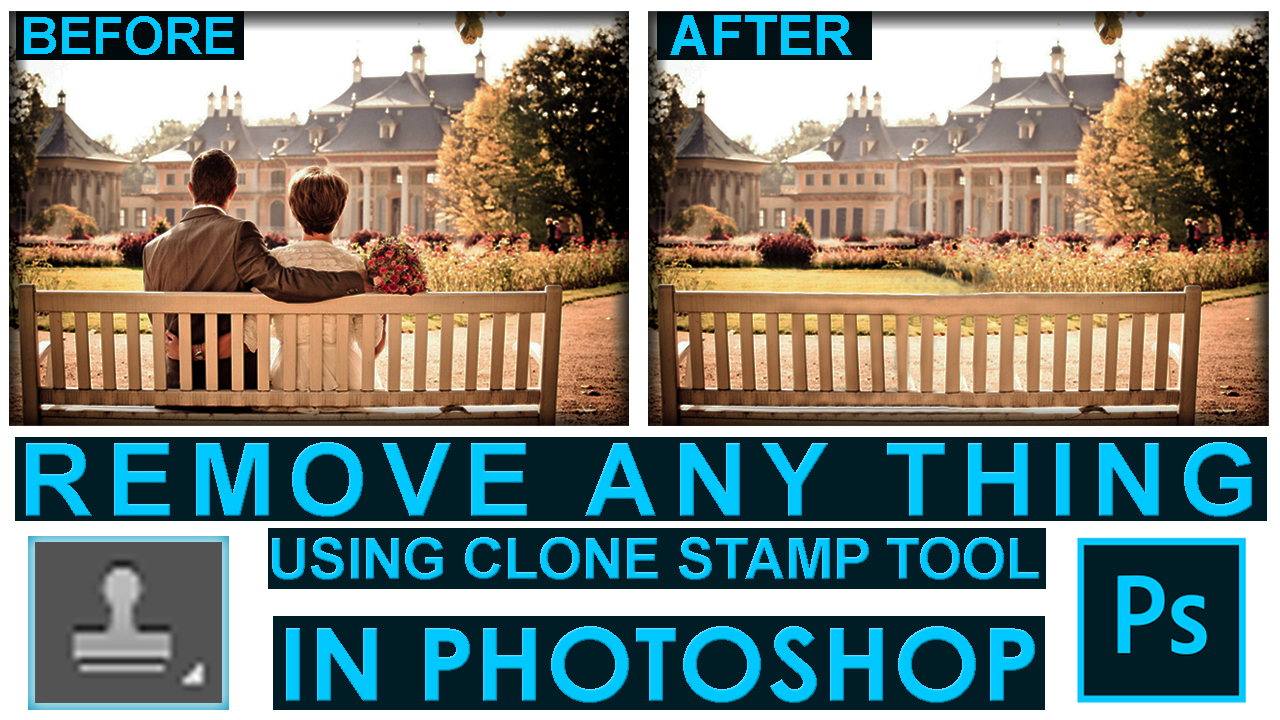
    In this video, you will learn how to remove anything from a photo using clone stamp tool in Photoshop.

    The Photoshop clone stamp tool allows you to copy one area of an image and paste it to another area of an image. It’s extremely easy to use by pressing Alt key to take a sample area of an image and paint it on another area of an image. Clone stamp duplicates one area to another area essentially, the clone stamp tool replaces pixels with pixels and makes any retouching look invisible.

    The clone stamp has been a standard tool in Photoshop since the beginning. It is used by photographers and designers to remove unwanted elements from a photo and replace them with another piece. It is common to use it to retouch blemishes on people’s faces or remove any unwanted elements but can be useful for any subject and any graphic.

    SHORTCUT KEYS

    Space : To move image each around
    Alt+Mouse Wheel: To zoom in or zoom out.
    Ctrl+J: Duplicate Layer
    Ctrl+D: Deselect
    Alt on Clone stamp tool: To take a sample area of an image

    Video Tutorial

    IMAGE

  • Damaged Photo Repair | Remove Dust and Scratches | Photoshop Tutorial

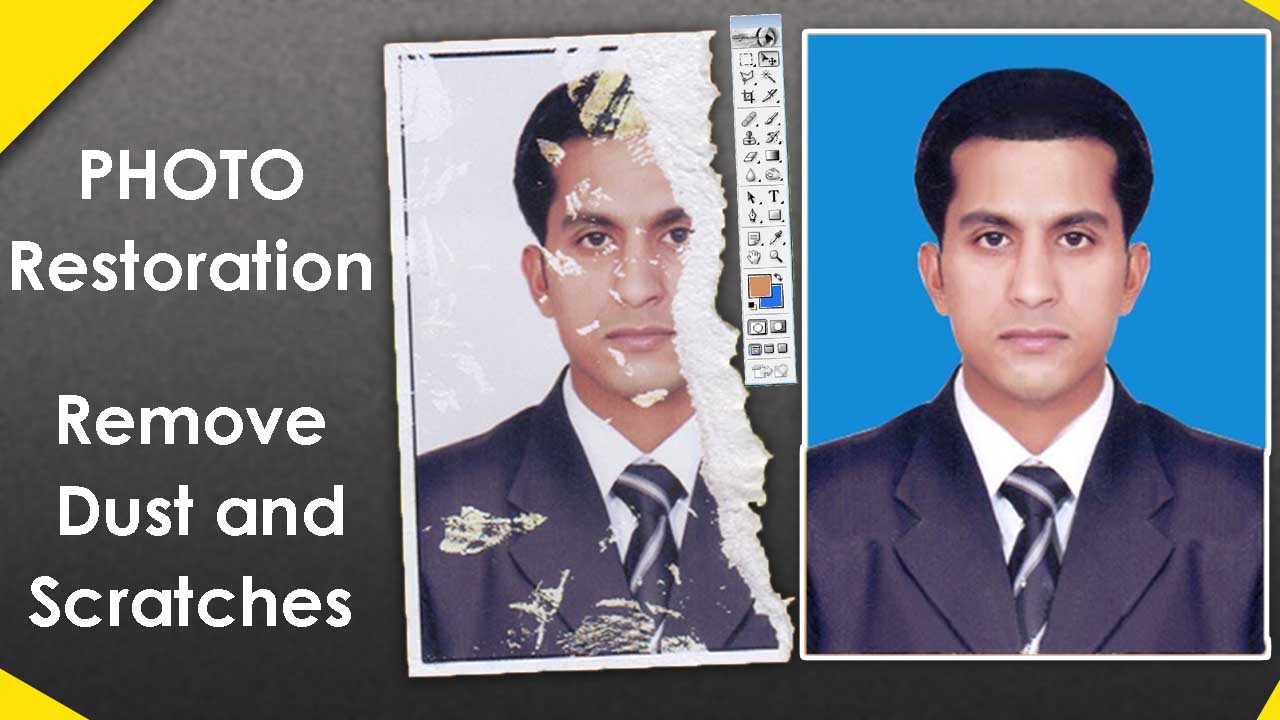
    Damaged Photo Repair | Remove Dust and Scratches | Photoshop Tutorial

    In this video you will learn how to remove scratches form photo and how repair damaged photo in photoshop 7.0.


    Video Tutorial

    RELATED VIDEOS: Best Way to Colorize Black and White Photo in Photoshop: https://youtu.be/dcVkWbPVzGg Photo Restoration | Remove Dust and Scratches in Photoshop: https://youtu.be/YXGTg1QBGjE How to Scan / Convert Photo Negative Into Digital Photo In Photoshop: https://youtu.be/BcdTw9eY7cM Old Photo Restoration | Colorize a Black and White Photo | Damaged Photo Repair in Photoshop: https://youtu.be/PD0WnOKWfCc WATCH MORE: Business Card Design in Photoshop: https://goo.gl/F7ZTHP Cracked Face Effect | Photoshop Tutorial: https://goo.gl/6BQyrc Banner Design using Urdu InPage CorelDRAW X6: https://goo.gl/EttN6U Photoshop Tutorials Playlist: https://goo.gl/zLkpYQ

    ————————————————————————
    Music Credit: On My Way Kevin MacLeod (incompetech.com) Licensed under Creative Commons: By Attribution 3.0 License https://creativecommons.org/licenses/b…

  • Best Way to Colorize Black and White Photo in Photoshop

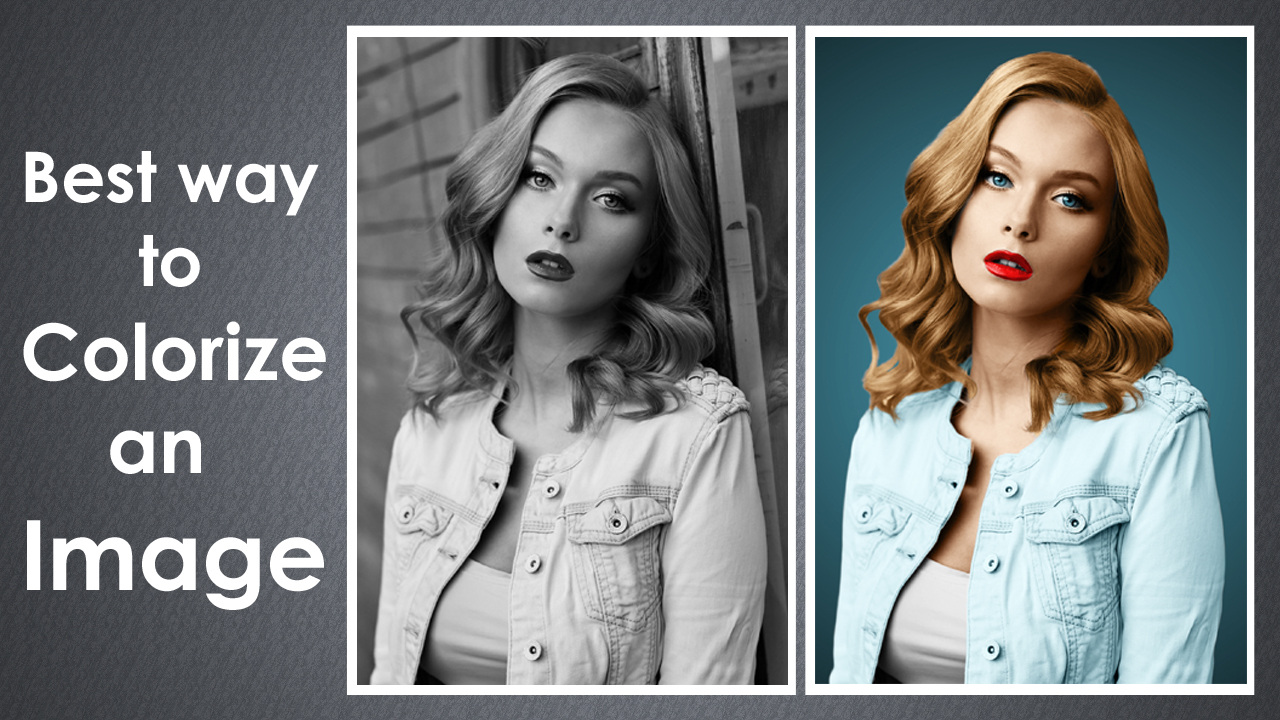
    Best Way to Colorize Black and White Photo in Photoshop

    In this video tutorial I will show you step by step to colorize black and white photo easily and quickly.

    Video Tutorial

    Image: Download

    Music By: YouTube Audio Library: https://www.youtube.com/audiolibrary/music

  • How to Repair Damaged Photo | Remove Scratches and Dust | Photoshop Tutorial

    How to Repair Damaged Photo | Remove Scratches and Dust | Photoshop Tutorial

    In this video w’ll learn how to restore/repair damaged photos and how to remove dust and scratches from a photo.

    Video Tutorial

    Related Videos:
    Damaged Photo Repair | Remove Dust and Scratches: https://youtu.be/Rsqgd8bFijc
    How to Scan / Convert Photo Negative Into Digital: https://youtu.be/BcdTw9eY7cM

    Scratched Image: Download
    Finished JPG: Download
    Finished PSD: Download

    _____________________________
    Music:
    Whirlwind Love by Unicorn Heads is part of the YouTube Audio Library (https://www.youtube.com/audiolibrary/…).

  • How to Scan / Convert Photo Negative Into Digital Photo In Photoshop

    How to Scan / Convert Photo Negative Into Digital Photo In Photoshop


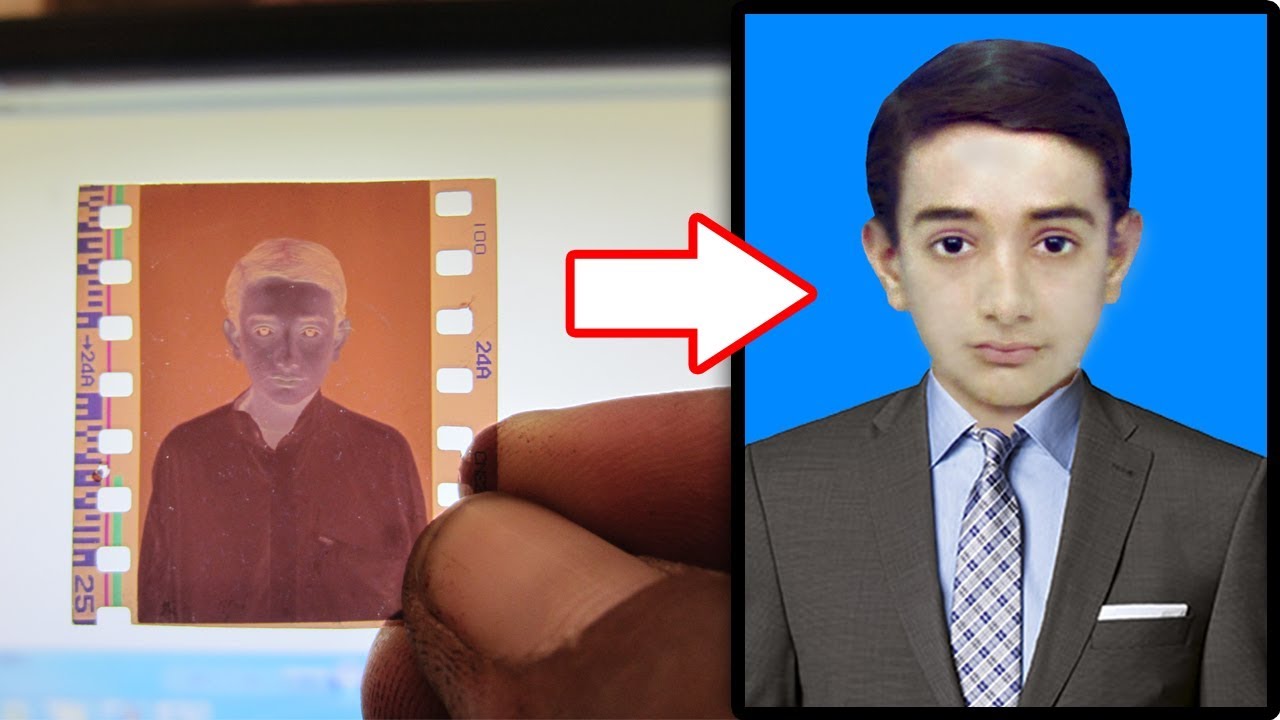
    In this video I will show you, how to quickly or easily convert film negatives into digital image using a simple camera.
    First we need to shot the negatives. Make sure that your negatives are clean before digitizing them. You must have background any soft white LCD screen / Mobile Torch or shiny sun to look it clearly. Now take shots. Transfer the images from your camera to computer. Open photo in Photoshop. Choose the Crop tool and remove top, bottom and sides portion of a photo to create focus or strengthen the composition. Go to adjustments and select invert CTRL + I keyboard shortcut. This photograph is very old one so you may notice lot of scratches and dust on the photo. To fix the colors add curves adjustment. Open red channel, move black handle at starting point of the curve and drag white handle at end of the curve. Do the same for the green and blue channels. That’s it we’re done. Now remove the scratches and dust form photo use stamp tool / brush tool for blacking hairs use burn tool.


  • How to Colorize a Black and White Photo in Photoshop 7

    How to Colorize a Black and White Photo in Photoshop 7


    This tutorial will teach you how to add color back into an old, black and white photograph. It’s a lot of fun scanning and colorizing old family portraits, or bringing vintag
    e photos into the modern world. There are a few different techniques to colorize a black and white image, but the methods in this tutorial will be 100% non-destructive, meaning your original image stays intact, and you can go back and make adjustments without having to start from scratch.