Category: Video

  • Soft Light Photoshop Manipulation Tutorial

    Soft Light Photoshop Manipulation Tutorial

    Soft Light Photoshop Manipulation Tutorial

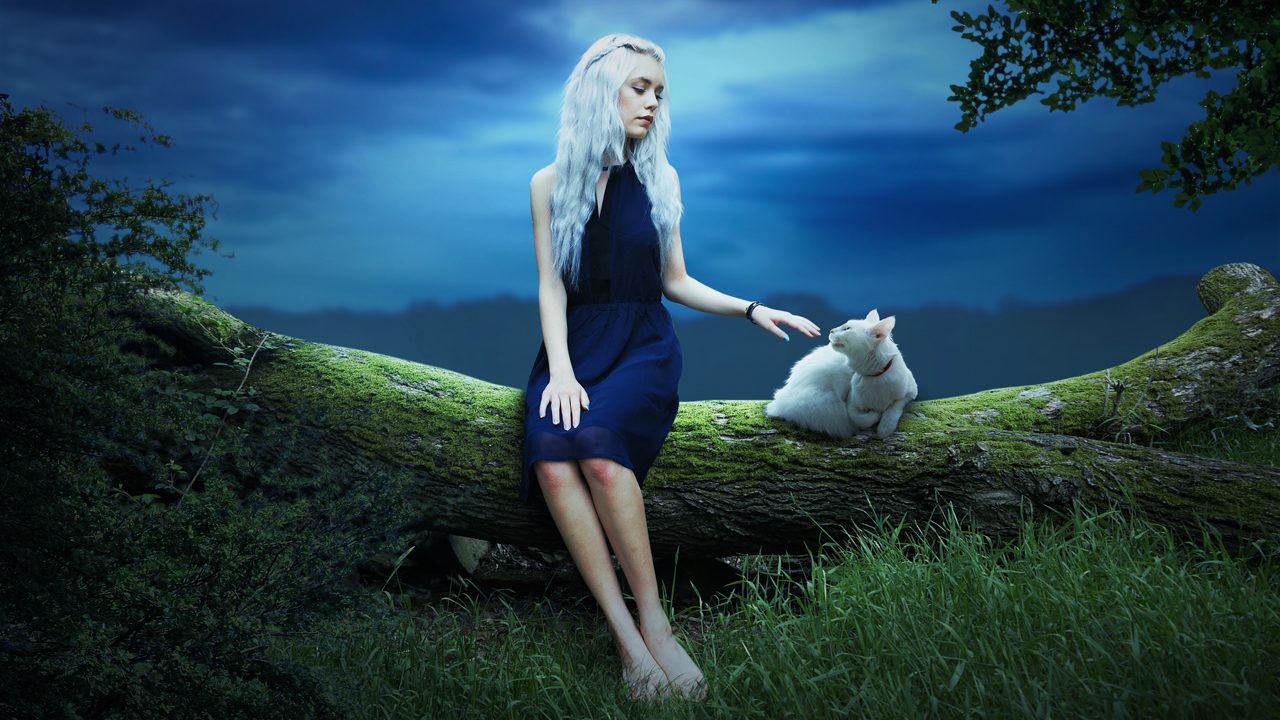
    In this post, you will learn how to create Soft Light Photoshop Photo Manipulation in Photoshop.
    Soft Light Photoshop Manipulation Tutorial

    In this video tutorial, I am involving various photos (Model, Cat, Fallen Tree, Sky and Tree Branches,) and using various methods and techniques in Adobe Photoshop to achieve the desired result. All stocks download link given in below this article.

    Follow the video tutorial and create your own fantasy photo manipulation using these techniques which shows in the below video tutorial. Before you make your own photo instead of any photo in this composition, make sure the camera direction should be the same, other than it will not look real. So keep watching and keep visiting this blog. Thank You


    DOWNLOADS
  • How to Create Snow in Photoshop

    How to Create Snow in Photoshop

    How to Create Snow in Photoshop

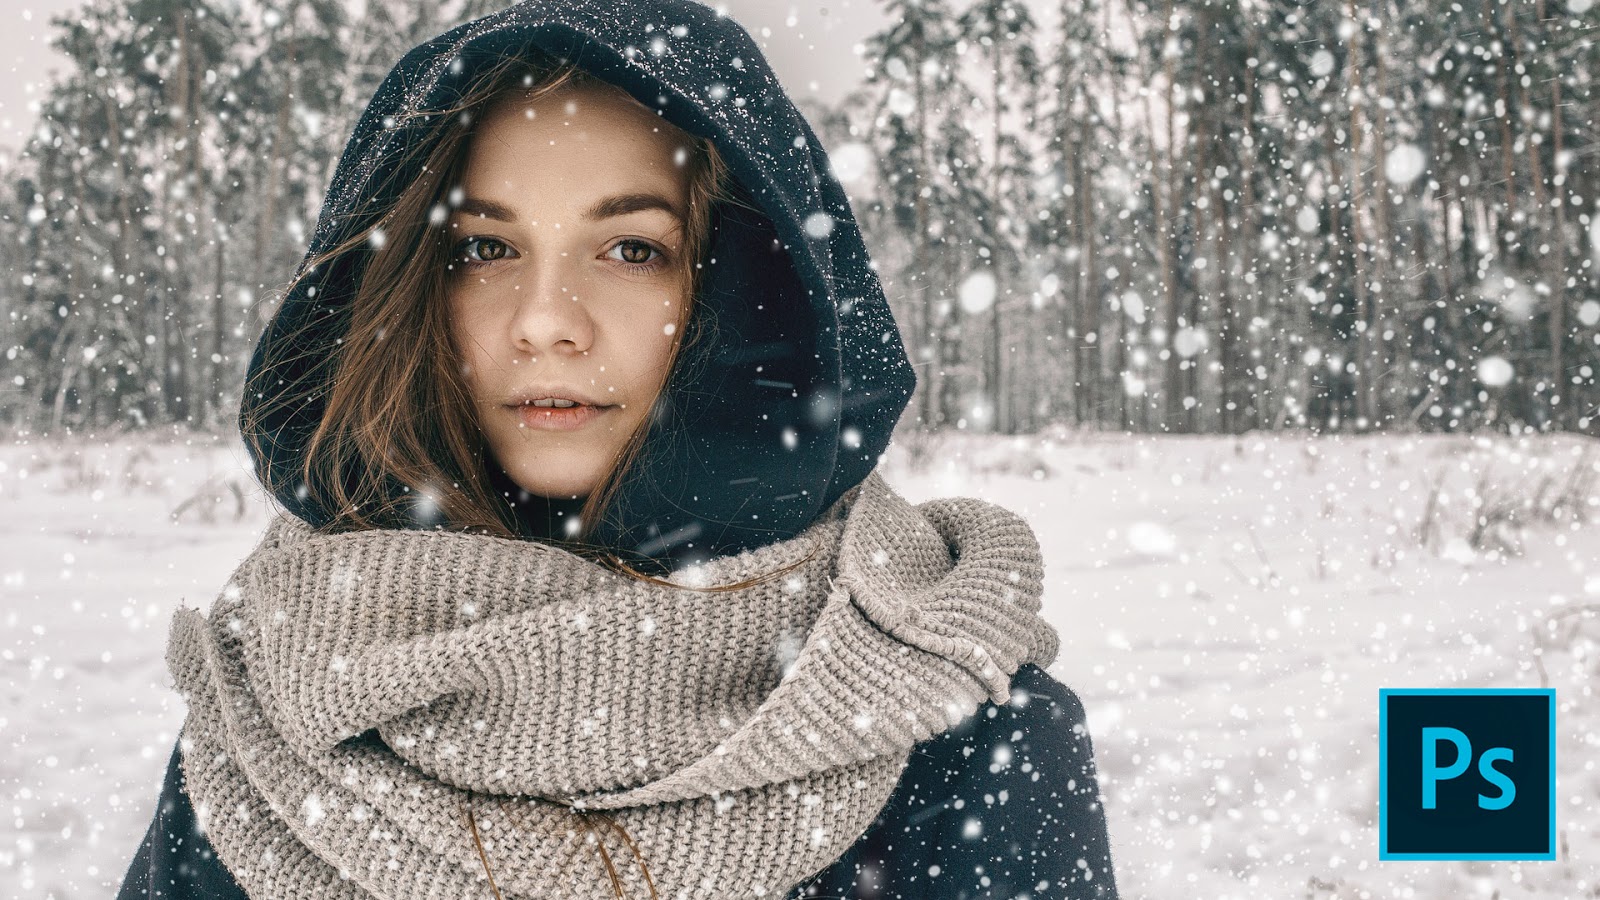
    In this video tutorial, you will learn how to create a snow effect in Photoshop using Brush tool, and you will also learn how to create a custom brush in Photoshop.

    How to Create Snow in Photoshop


    How to Create a Custom Brush in Photoshop

    1-Open your image in Photoshop,


    3-Create a new blank layer, take rectangular selection tool and make a selection, Now press Alt+Backspace, make sure your foreground color is white.

    3-Select Brush tool change the hardness around 45-55 and brush it at one bottom side corner of selection and one smaller at the top side corner.

    4- Now go to Edit>Define brush and name your brush. Now delete the layer and create another blank layer.

    5-Now open brush preset from the property bar, from the brush tip shape tab, increase the spacing and from shape dynamic tab, Increase the Size Jitter, Minimum Diameter, Angle Jitter, Roundness Jitter, and a little bit Minimum Roundness, and from Scattering tab Increase the Scatter.
    6- Now create snow by brushing on your image and resizing brush size randomly and then add a little bit motion blur from Filter>Blur>Motion Blur.

    1.   How to Load Brush Preset in Photoshop
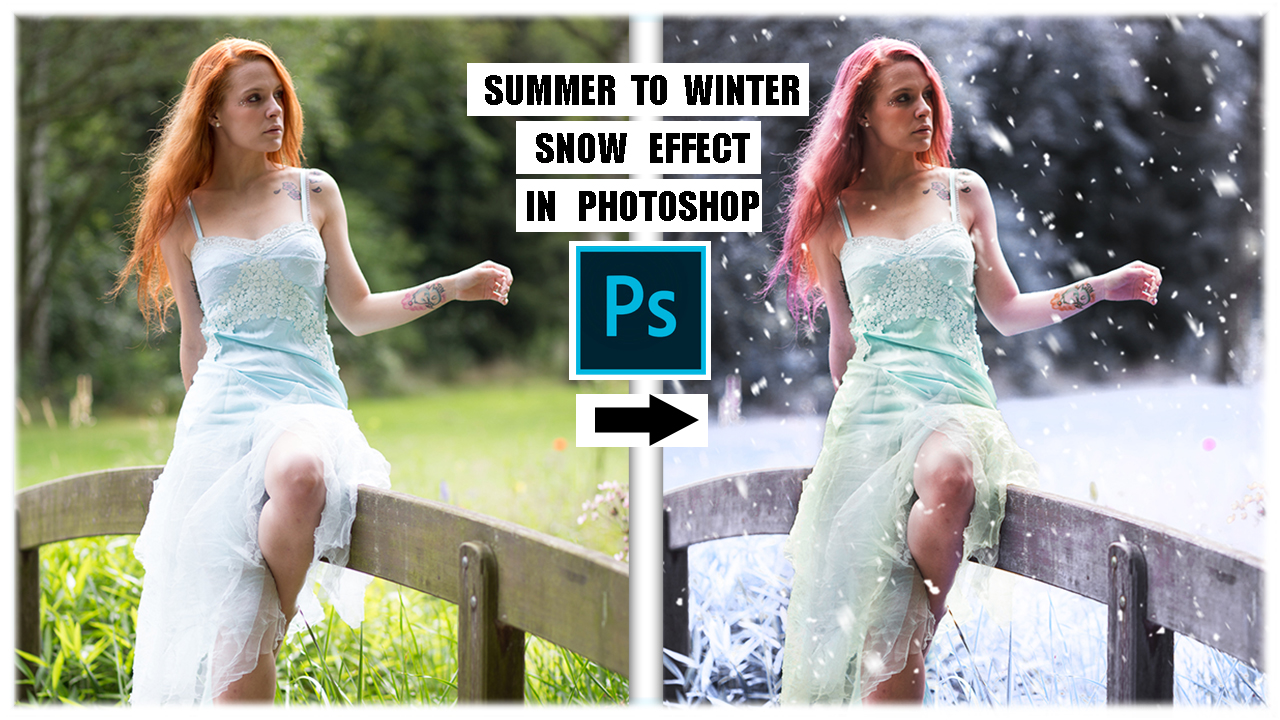
    2. Transform Summer To Winter | Snow Effect in Photoshop
    Stock Credit

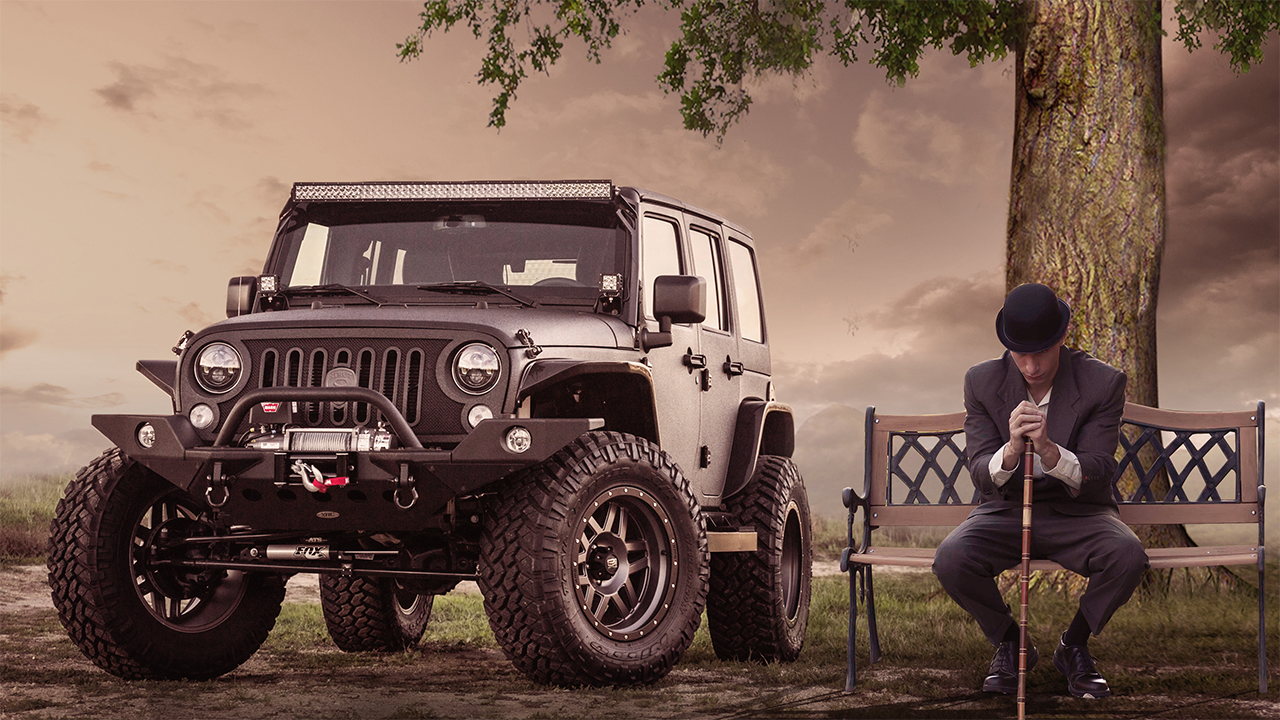
  • JEEP Fantasy Soft Light Photo Manipulation In Photoshop

    JEEP Fantasy Soft Light Photo Manipulation In Photoshop

    JEEP Fantasy Soft Light Photo Manipulation In Photoshop


    In this post, you will learn how to create Fantasy Jeep Photo Manipulation in Photoshop.

    In this video tutorial, I am involving various photos (Jeep, Background Sky, Tree, Man) and using various methods and techniques in Adobe Photoshop to achieve the desired result. All stocks download link given in below this article.


    Follow the video tutorial and create your own fantasy photo manipulation using these techniques which shows in the below video tutorial. Before you make your own photo instead of any photo in this composition, make sure the camera direction should be the same, other than it will not look real. So keep watching and keep visiting this blog. Thank You


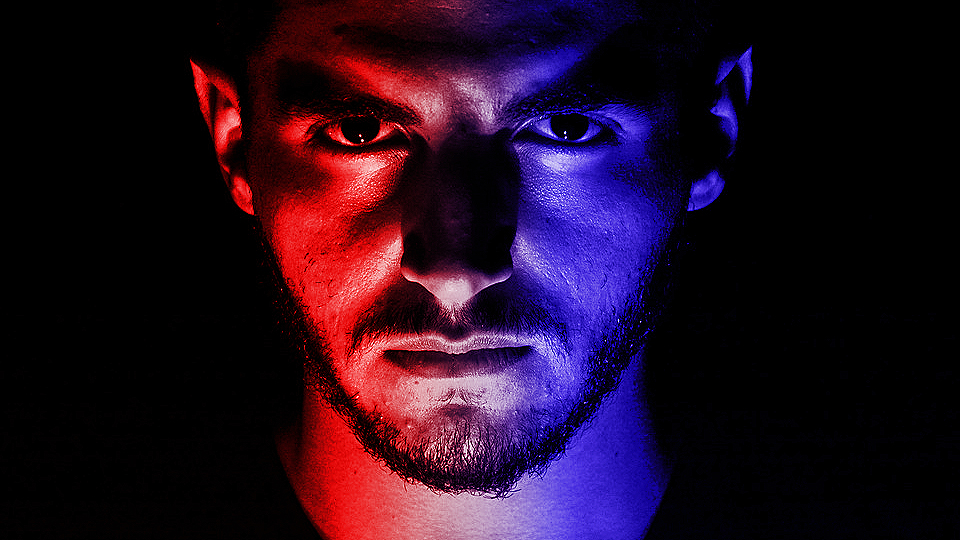
  • How to Create a Dramatic Red and Blue Face Portrait in Photoshop

    How to Create a Dramatic Red and Blue Face Portrait in Photoshop

    How to Create a Dramatic Red and Blue Face Portrait in Photoshop

    In this video tutorial showing How to Create a Dramatic Red and Blue Face Portrait in Adobe Photoshop.
    How to Create a Dramatic Red and Blue Face Portrait in Photoshop | Al Qadeer Studio

    Step by Step

    1-Open your portrait in Photoshop and duplicate it.
    2-Create a new adjustment Solid Blue Color Layer. Change the Blending mode from normal to Color. Select Mask of Solid Fill layer, take Gradient Tool and drag it from left Half side to right half side.
    3-Create on another new adjustment Solid Red Color layer. Change the Blending mode from normal to Color, Select Mask of Solid Fill layer, Take gradient Tool and drag it from right half side to left half side.
    4-Bring the model duplicated layer to the top of all layer, Change the blending mode from normal to overlay, decrease the opacity 40-50%.
    5-Select All layers and convert it to smart object.
    6-Now go filter> Filter Gallery, expand the Artistic gallery, select paint daubs and play with sharpness angle.

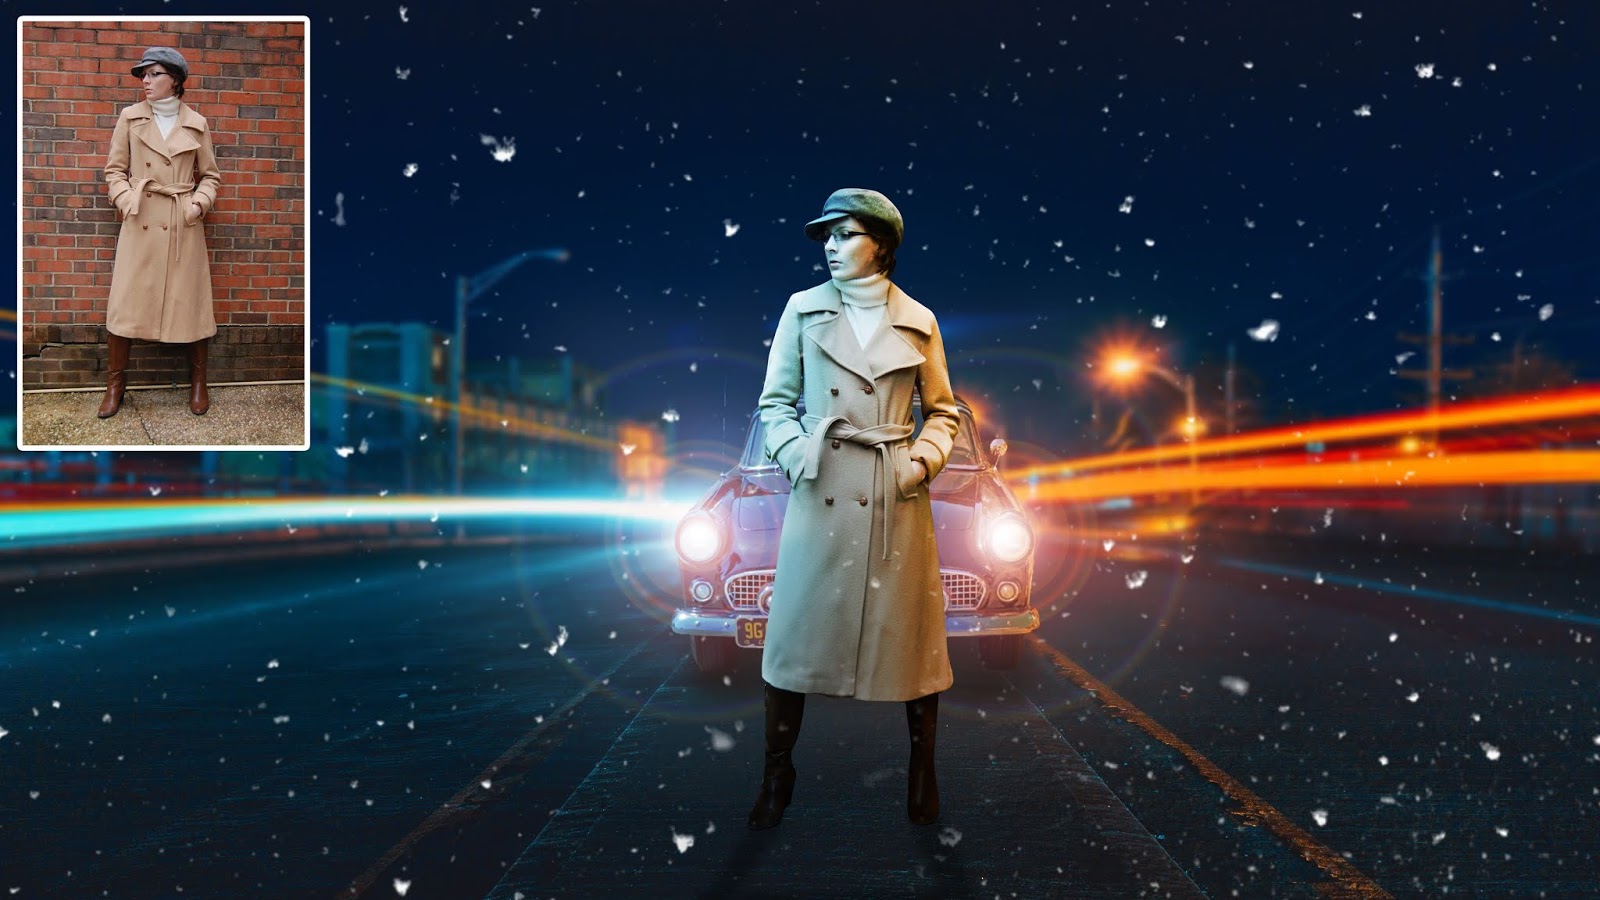
  • Photo Manipulation – How to Match Object With Background | Photoshop Tutorial

    Photo Manipulation – How to Match Object With Background | Photoshop Tutorial

    Photo Manipulation – How to Match Object With Background | Photoshop Tutorial

    Photo Manipulation - How to Match Object With Background | Photoshop Tutorial Al Qadeer Studio

    You will also learn

    • How to blur background
    • How to remove background
    • How to change background
    • How to add car light
    • How to create light effect and matching with background
    • How to match object/model with background
    • How to create shadow
    • how to add snow effect


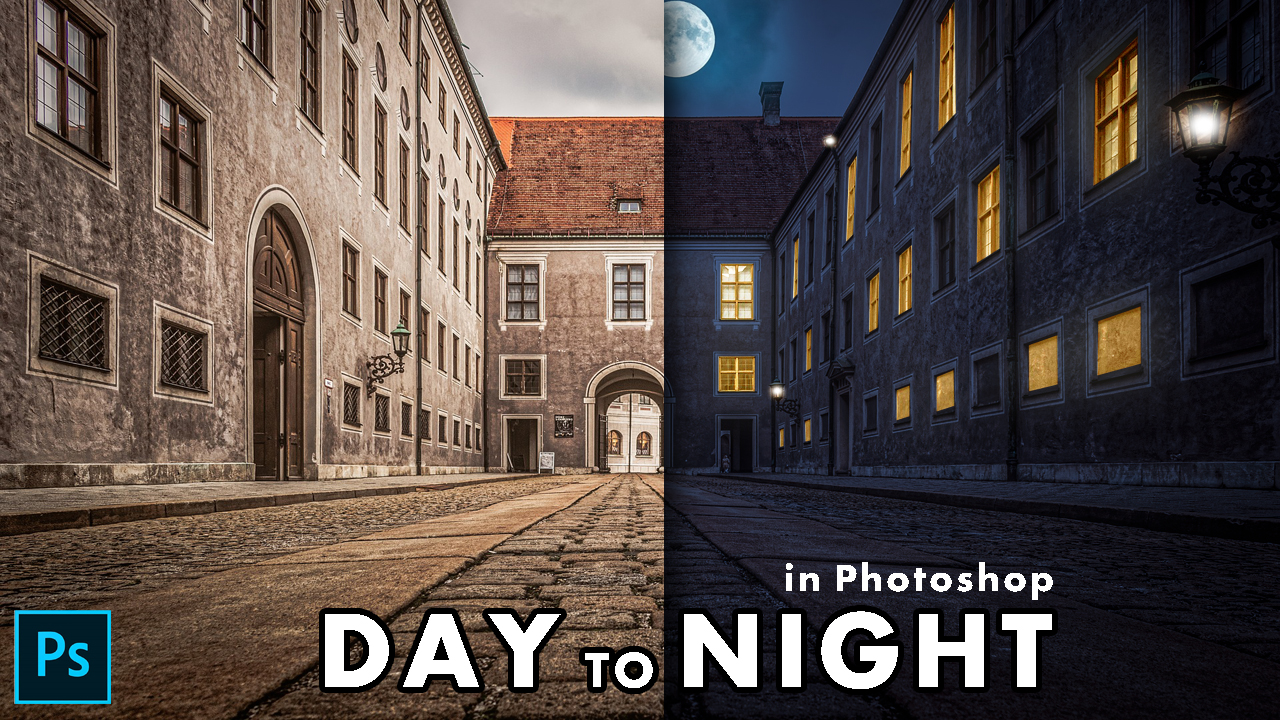
  • How to Turn Day into Night in Photoshop

    How to Turn Day into Night in Photoshop

    Learn How to Turn Day into Night in Photoshop


    Lear How to Turn Day into Night in Photoshop | Al Qadeer Studio
    1-Open your image in Photoshop and duplicate it.
    2-Create a new adjustment layer of Color Lookup, change 3DLUT File to Moonlight.
    3-Create a new adjustment layer of Brightness/Contrast and decrease the opacity of Brightness.
    4-Select duplicated layer and both adjustment layers and press Ctrl+G to group it and then add layer mask . Now take any selection tool and make selection of windows randomly.
    5-Now take brush tool set foreground color black and then brush it
    6-Create a new adjustment layer of Solid Color and choose yellowish color (Don’t deselect the selection we have made in step 4) change the blending mode from normal to Soft Light.
    7-Select the grouped layer’s mask and take soft brush tool and brush it on lamps to create light effect.
    8-Double click on Solid Color layer to open Blending Options go to outer glow and play with the angles.
    9-Create a new blank layer to the top of all layers, take soft brush tool set foreground color white and brush it on lamps to create light effect.
    10-Place moon image change the blending mode from normal to screen, add layer mask take soft brush tool and brush it to the outside of moon.

  • Transform Summer To Winter | Snow Effect in Photoshop

    Transform Summer To Winter | Snow Effect in Photoshop

    Transform Summer To Winter | Snow Effect in Photoshop
    Learn how to transform a photo from summer to winter and add snow effect in Adobe Photoshop
    Transform Summer To Winter | Snow Effect in Photoshop  Learn how to transform a photo from summer to winter and add snow effect in Adobe Photoshop - Al Qadeer Studio
    CONVERT FROM SUMMER TO WINTER

    1-Open your image in Photoshop
    2-Create a new Channel Mixer adjustment layer. Change Output Channel from red to blue and change the green angle value to 200% and blue’s value to -100%. Now select mask of Channel Mixer, take soft brush tool, set foreground color black and background color white and brush it on skin to bring back the original color of skin.
    3- Create a new adjustment layer of Hue/Saturation change from master to blues color and decrease the Lightness around +60 to +70.

    SNOW EFFECT

    4- Create a new Blank Layer to the top of all layers. Take Rectangular selection tool and make a square selection, set background color black and press Ctrl+Backspace to fill with black color. Now go to filter>noise>Add Noise, set amount according to your choice mark the Gaussian and Monochromatic. Now go to filter>Blur>Gaussian Blur, then go to Image>Adjustments>Threshold move the angle to the end of curves.
    5- Press Ctrl+T resize it to fit on canvas, change the blend mode from normal to screen. Duplicate the layer Press Ctrl+T and change rotation and also add a little motion blur from Filter>Blur>Motion Blur.
    6- Add layer mask of any snow layer take brush tool and remove snow from face and other areas.

  • Transparent Text Effect In Photoshop

    Transparent Text Effect In Photoshop

    Transparent Text Effect In Photoshop

    Learn Transparent Text Effect in Photoshop using blending option
    Learn Transparent Text Effect in Photoshop using blending option | Photoshop Tutorial
    1-Open your background image in Photoshop.

    2-Select Text tool, choose fonts and color is black and type your text, Press Ctrl+A to make selection of whole canvas, select move tool and click on align horizontal and vertical centers and then resize it by pressing Ctrl+T.

    3-Select Background layer, take rectangular tool (U) set color white and draw a shape now press Ctrl+A select move tool and then click on align vertical and horizontal centers and decrease the opacity a bit.

    4-Make text layer active and decrease the fill to 0%. Right click on text layer click on blending options. Change the Knockout from none to Shallow, and that’s it.