Author: Al Qadeer Studio

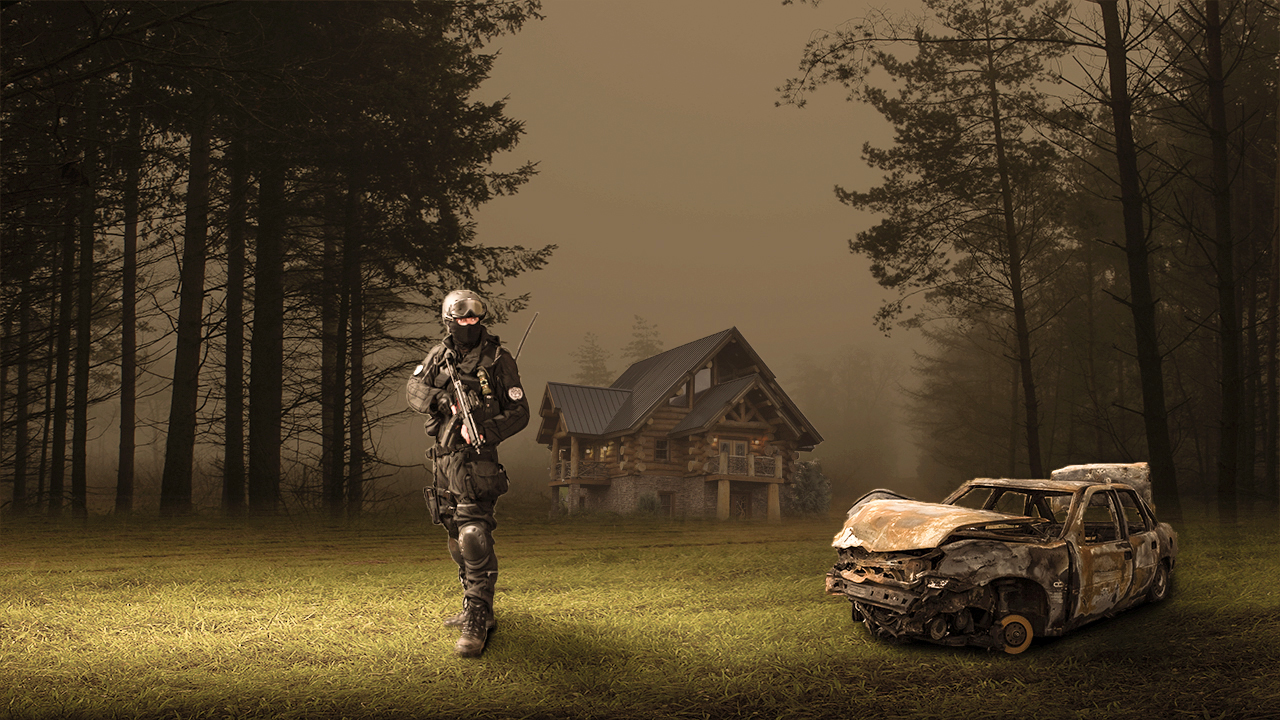
  • The Soldier Man | Fantasy Photo Manipulation in Photoshop

    The Soldier Man | Fantasy Photo Manipulation in Photoshop

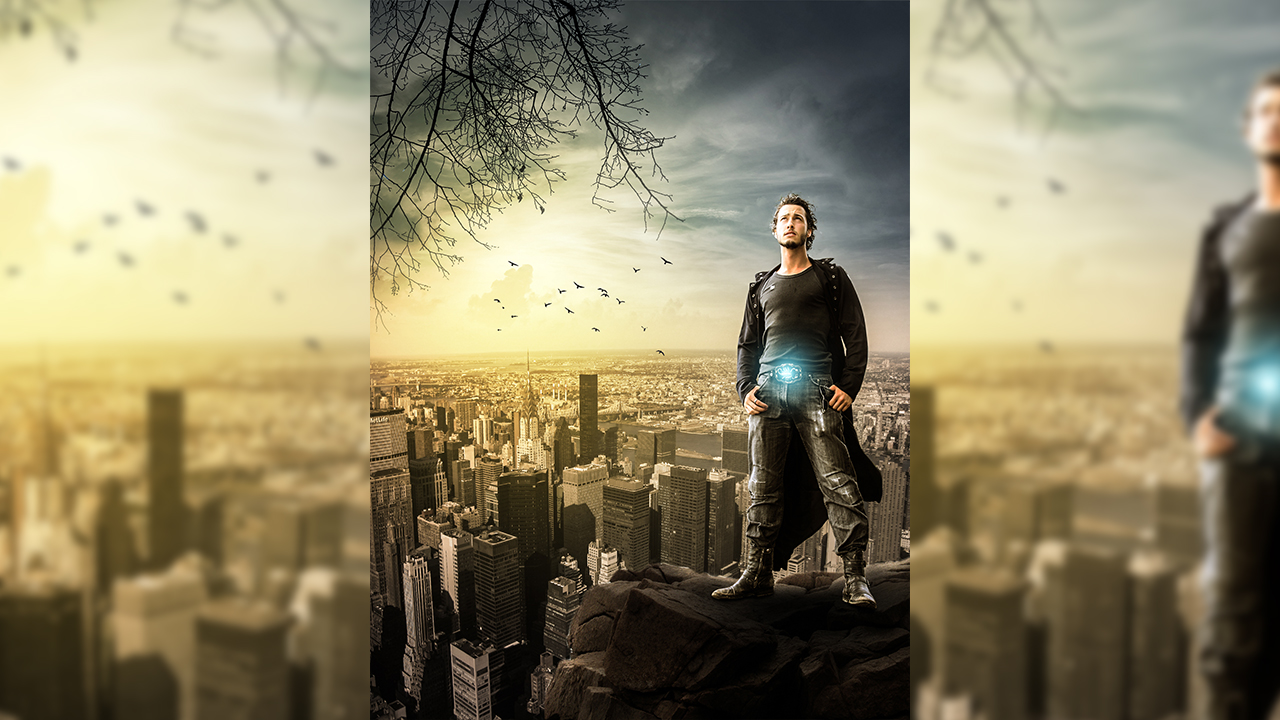
    In this video tutorial I am making fantasy soldier photo manipulation/ composition in Adobe Photoshop
    So guys enjoy the tutorial and don’t forget to share, like and subscribe my channel.

    You will also learn from this video:Photo Manipulation in Photoshop Photo Composition How to convert day into night How to create lighting How to create shadows How to use camera raw filter How to add fog


    Downloads

  • The City Hero – Movie Poster Design | Photo Manipulation | Photoshop Tutorial

    The City Hero – Movie Poster Design | Photo Manipulation | Photoshop Tutorial

    In this video tutorial you will learn how to make a movie poster in Photoshop.

    Video Tutorial

  • Sky City – Photo Manipulation | Photoshop Tutorial

    Sky City – Photo Manipulation | Photoshop Tutorial

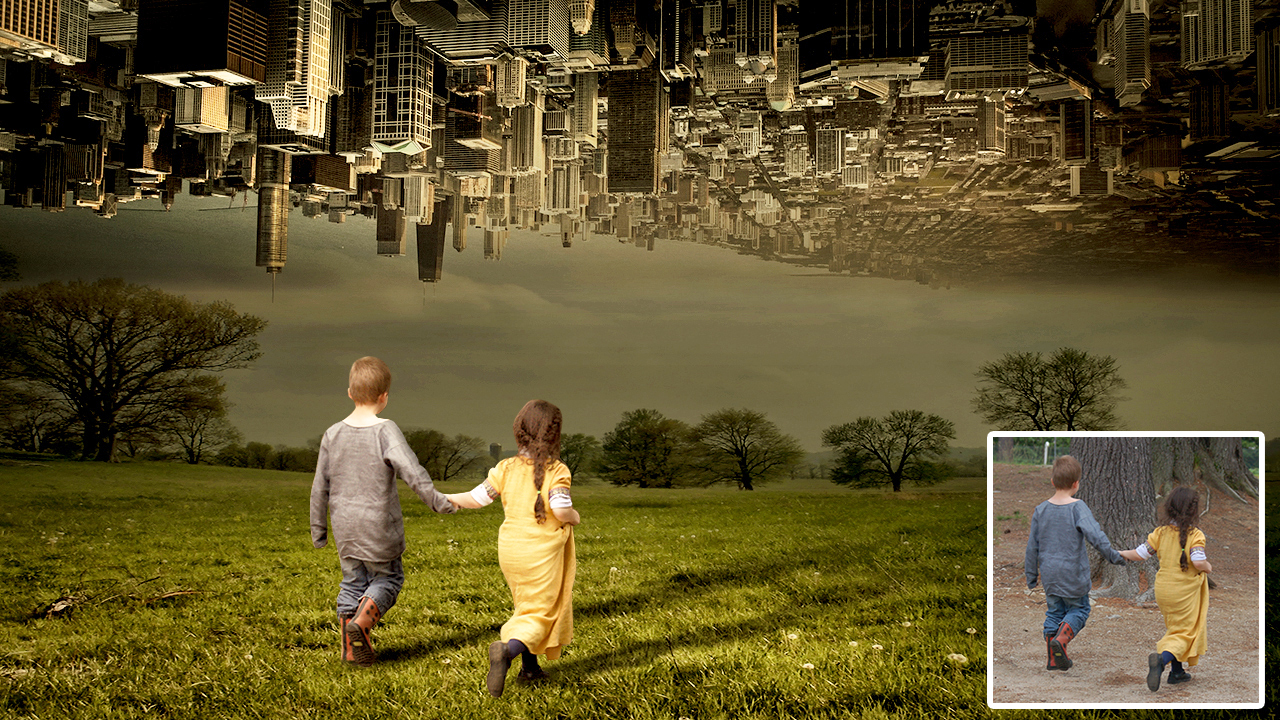
    In this tutorial I am going to create a fantasy photo manipulation/composition, The Sky city Photo Manipulation Tutorial in Adobe Photoshop CC.

    Step by Step:

    Step-1
    1-First of All you need download Images. Link given in below.
    2-Open Adobe Photoshop and create a new document (1280×720).
    3-Create a new adjustment layer of a solid color (#3c3c3c)
    Step-2
    1- Place your first image for background by clicking on file and place embedded and fit it to document and hit enter.
    2- Duplicate the background image by pressing Ctrl+J, click on below layer of your duplicate background image and Change blending mode from normal to multiply.
    3- Now select your duplicate layer and add layer mask from the bottom of layer panel.
    Now select Gradient tool (Shortcut Key-G) Make sure your foreground color is Black and background color is white. then Drag it from top and leave it on center of your image, it will make sky dark. similarly add gradient from right and corner to create lighting effect.
    4- You can also use soft brush.
    Step-3
    1- Place city and adjust it on document. then Click right button from your mouse and click on Flip Vertical.
    2- Repeat same steps of Step-2’s point no 2-3.


    Step-4

    Balance the color of city and background by Color Balance (Ctrl+B) and Hue/Saturation (Ctrl+U).
    Step-5
    1-Place Children Image. Get pen tool (Shortcut Key-P) and select model start to end. right click on it and click on Make Selection then add layer mask. it will hide background.
    2- Press Ctrl+T and right click on it then click on flip Horizontal and adjust it on background.
    3- Right click from your mouse on children layer’s layer mask and click on apply layer.
    4-Duplicate it by pressing Ctrl+J and add layer mask to top layer. (Bottom Layer for Shadows)
    5-select grassing brush and brush it on foot of children to make some realistic.
    6-Select bottom layer of model and Press Ctrl+U and move the Lightness angle to -100 then click OK or Enter.
    7- Press Ctrl+T and move corners to adjust shadow by holding Ctrl key.
    8-Decrease the opacity to 40-50% and blur it by going to Filter > Blur > Guassion Blur.
    9-Create a new layer to the top of shadows layer. and get soft brush, then brush it on foot of the model to make some darken.
    10- Select the bottom shadow layer, add layer mask to it and take Gradient tool then drag it from shadows head to center of shadow.
    11- Select Model layer Press Ctrl+B and match color.
    12- Add a new adjustment layer of Brightness/Contrast and move brightness angle to -30, move contrast angel to 36. then click on mask and press Ctrl+I.
    13- Take soft brush tool, decrease the opacity of brush, and brush it for shadows.
    Step-6
    Add some Lights, and color adjustment layer for bottom of layer panel.
    1-Add brightness/contrast layer.
    2.Add Photo Filter
    3.Add Vibrance
    4. Create a new layer on the top of all layers then press Ctrl+Alt+Shift+E then go to filter and click on Camera Raw.
    Play with above points to create some lights, and colors.

    Watch Video
  • Fantasy Photo Manipulation | Photoshop Tutorial

    Fantasy Photo Manipulation | Photoshop Tutorial

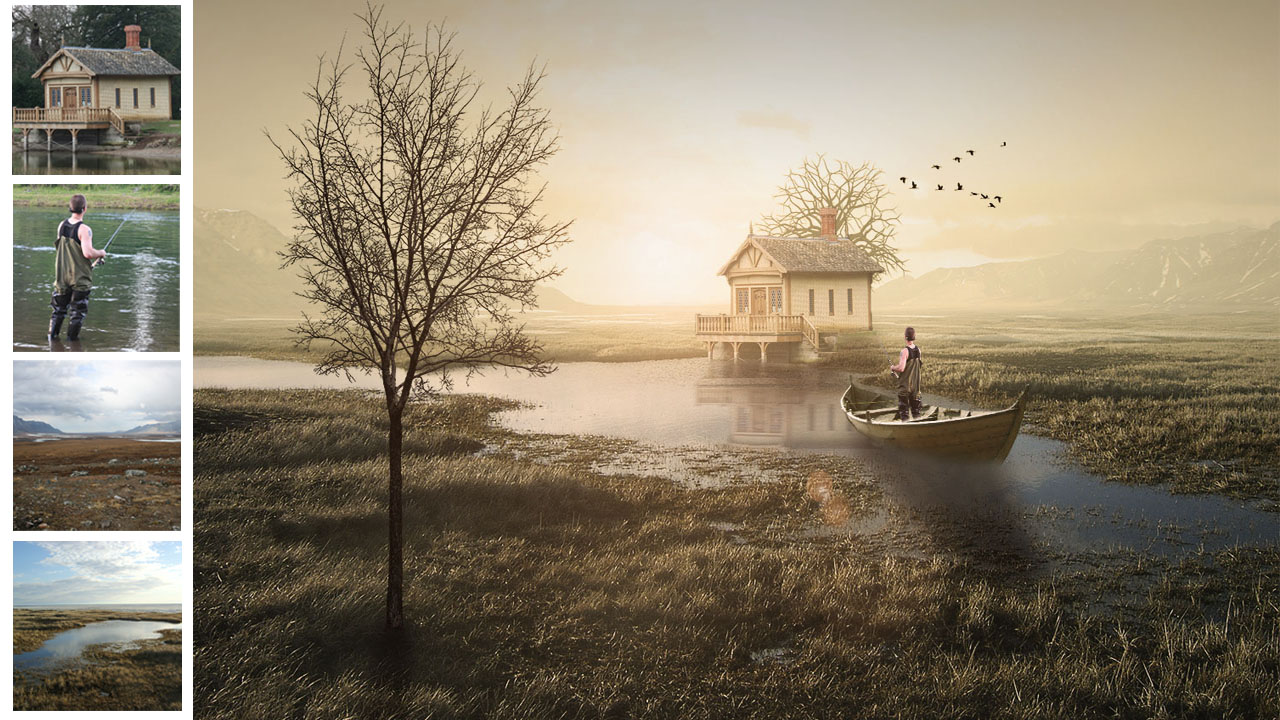
    In this video tutorial making fantasy photo manipulation in adobe Photoshop.


    You will also learn

    1. Photo manipulation
    2. How to remove background
    3. how to add sun light
    4. how to add fogy 
    5. how to add shadows
    6. how to make water reflection

  • How to Create Realistic Lipstick in Photoshop

    How to Create Realistic Lipstick in Photoshop

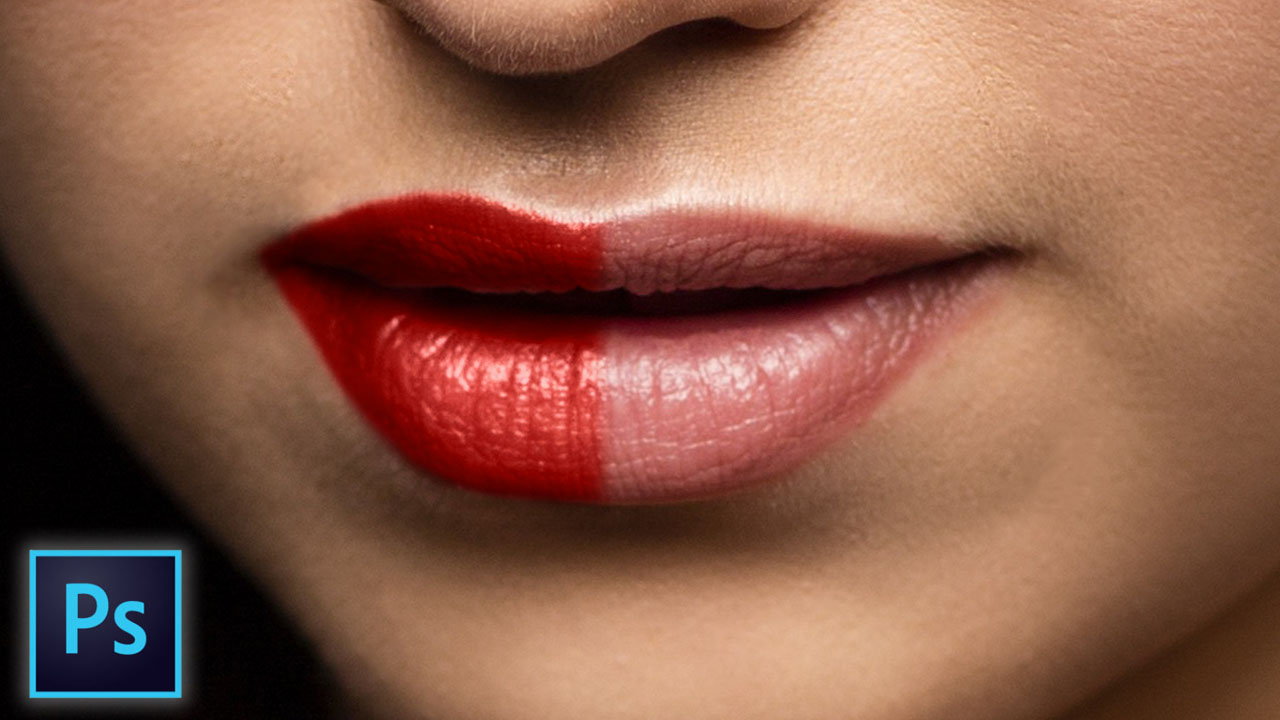
    Create highly realistic lipstick using a Secret Combination of Blend Modes and different shapes of color in Adobe Photoshop.

    1-Open your Image in Photoshop
    2-Create one new solid red color adjustment layer change the blend mode from normal to multiply and invert it by pressing Ctrl+I.
    3-Take soft brush tool set foreground color white and background color black make the brush size smaller and paint it on lips. When you finish painting then double click on layer or right click on layer and click on blending options.
    4-Move the Underlying Layer’s white angle to darken area press alt key and click on angle to split the angle and play with angles where it looks good.
    5-Duplicate the solid color layer and change the blend mode from multiply to screen.
    6-Double click on layer or right click then click on blending options, move the white angle of underlying layer’s to default (255). Now press alt key and click on black angle of underlying layer to split and then play with these angles where it looks good according to your choice.

    Video Tutorial

    Image: Download

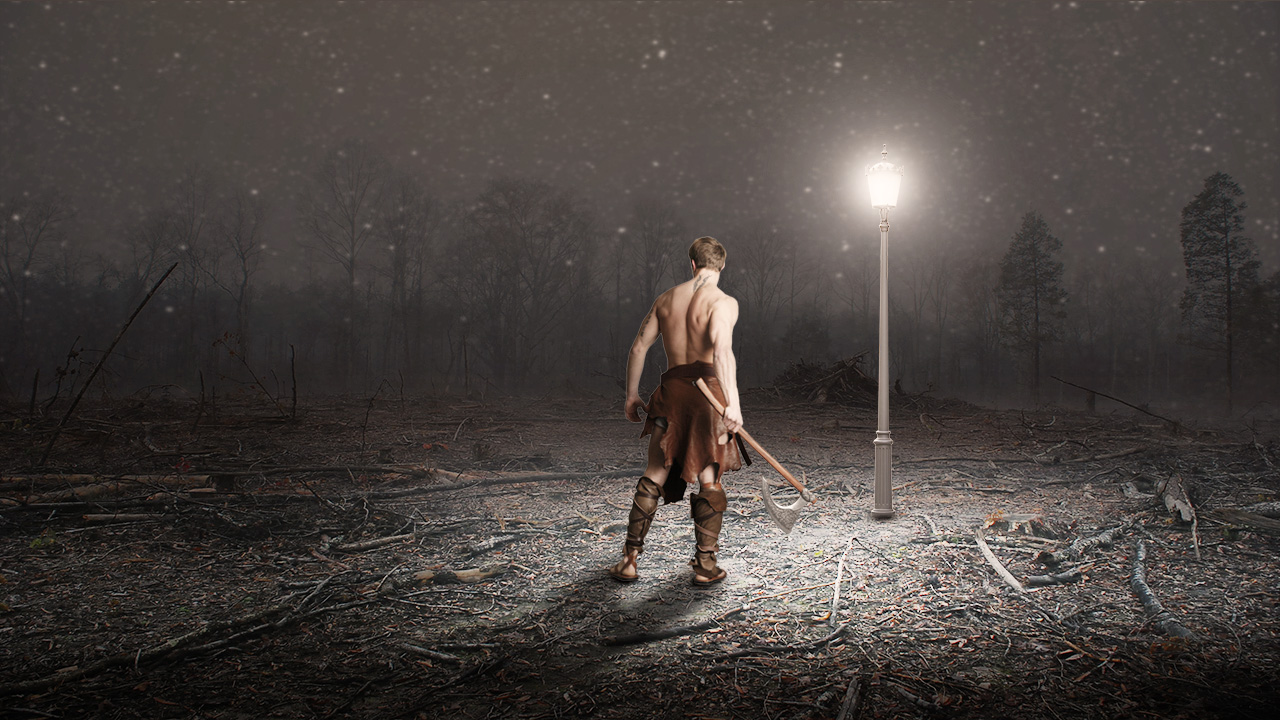
  • Forest Man | Photo Manipulation | Photoshop Tutorial

    Forest Man | Photo Manipulation | Photoshop Tutorial

    In this video you learn How to manipulate photo in Photoshop,

    YOU WILL ALSO LEARN
    How to convert day to night
    color balance,
    adding lights using bursh, brightness & Contrast,
    adding shadows,
    and much more

    Video Tutorial

    Model: Download
    Forest: Download
    Lamp: Download
    Night Sky: Download

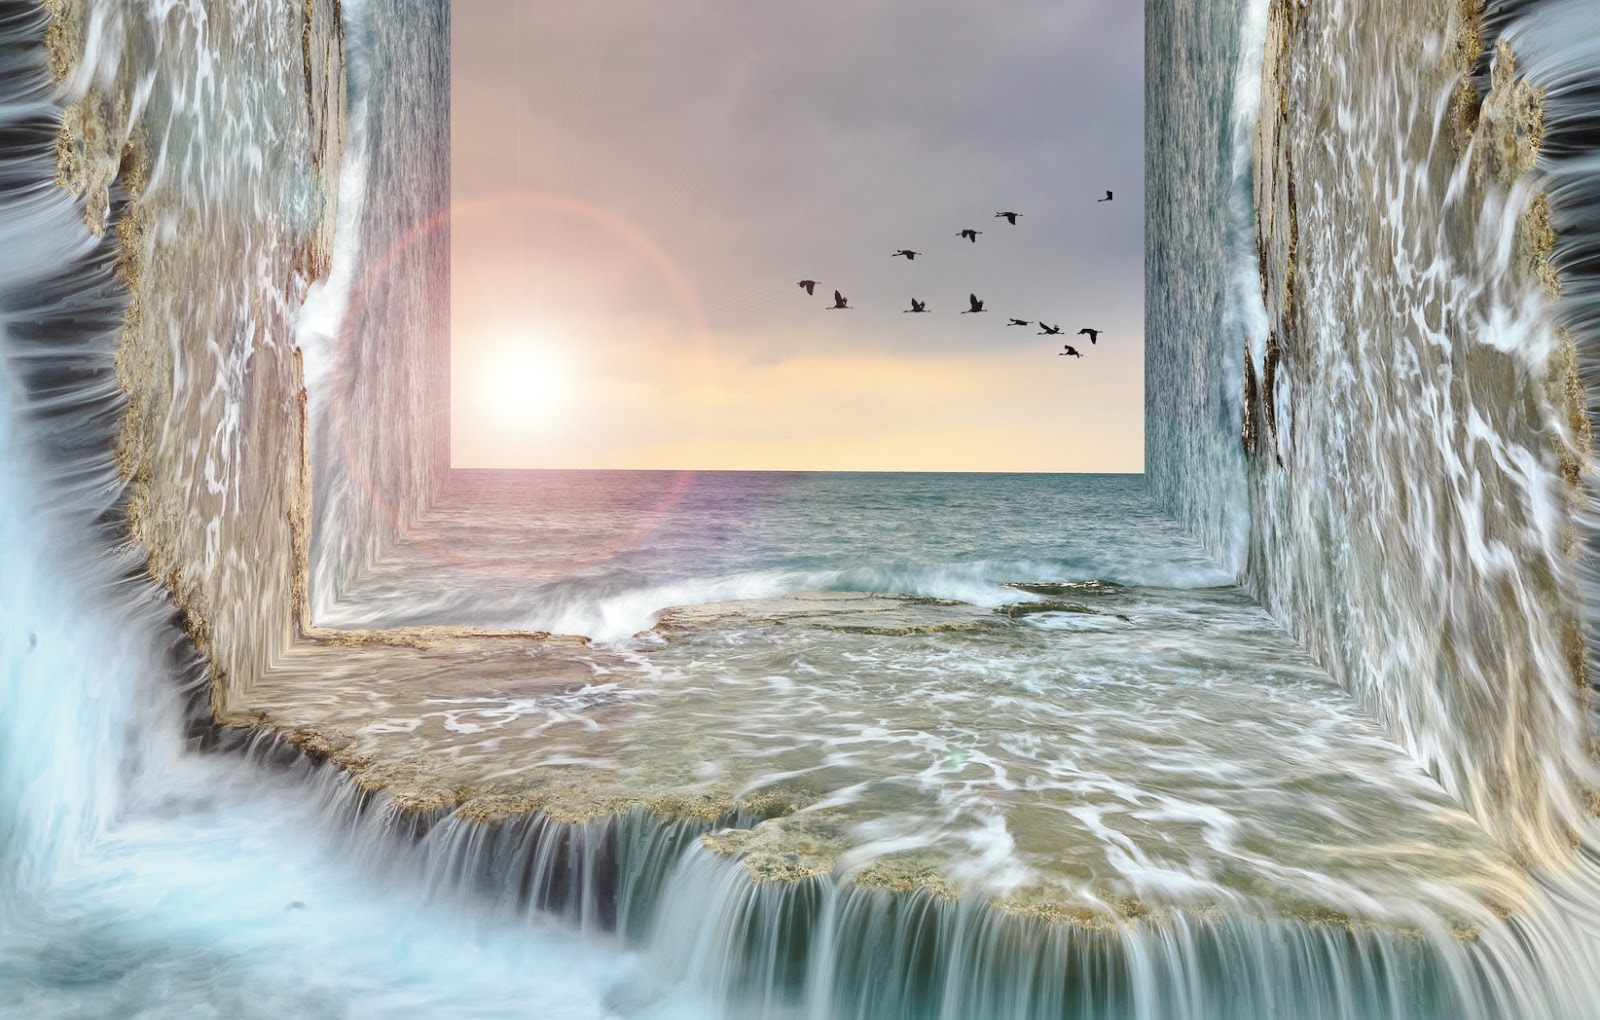
  • How to Bend a Picture | Inception Effect | Photoshop Tutorial

    How to Bend a Picture | Inception Effect | Photoshop Tutorial

    In this Photoshop photo manipulation tutorial, you’ll learn how create/bend a picture 90 degrees, bending inception effect in Photoshop easily and quickly.

    Video Tutorial

    Images Credit: Download here


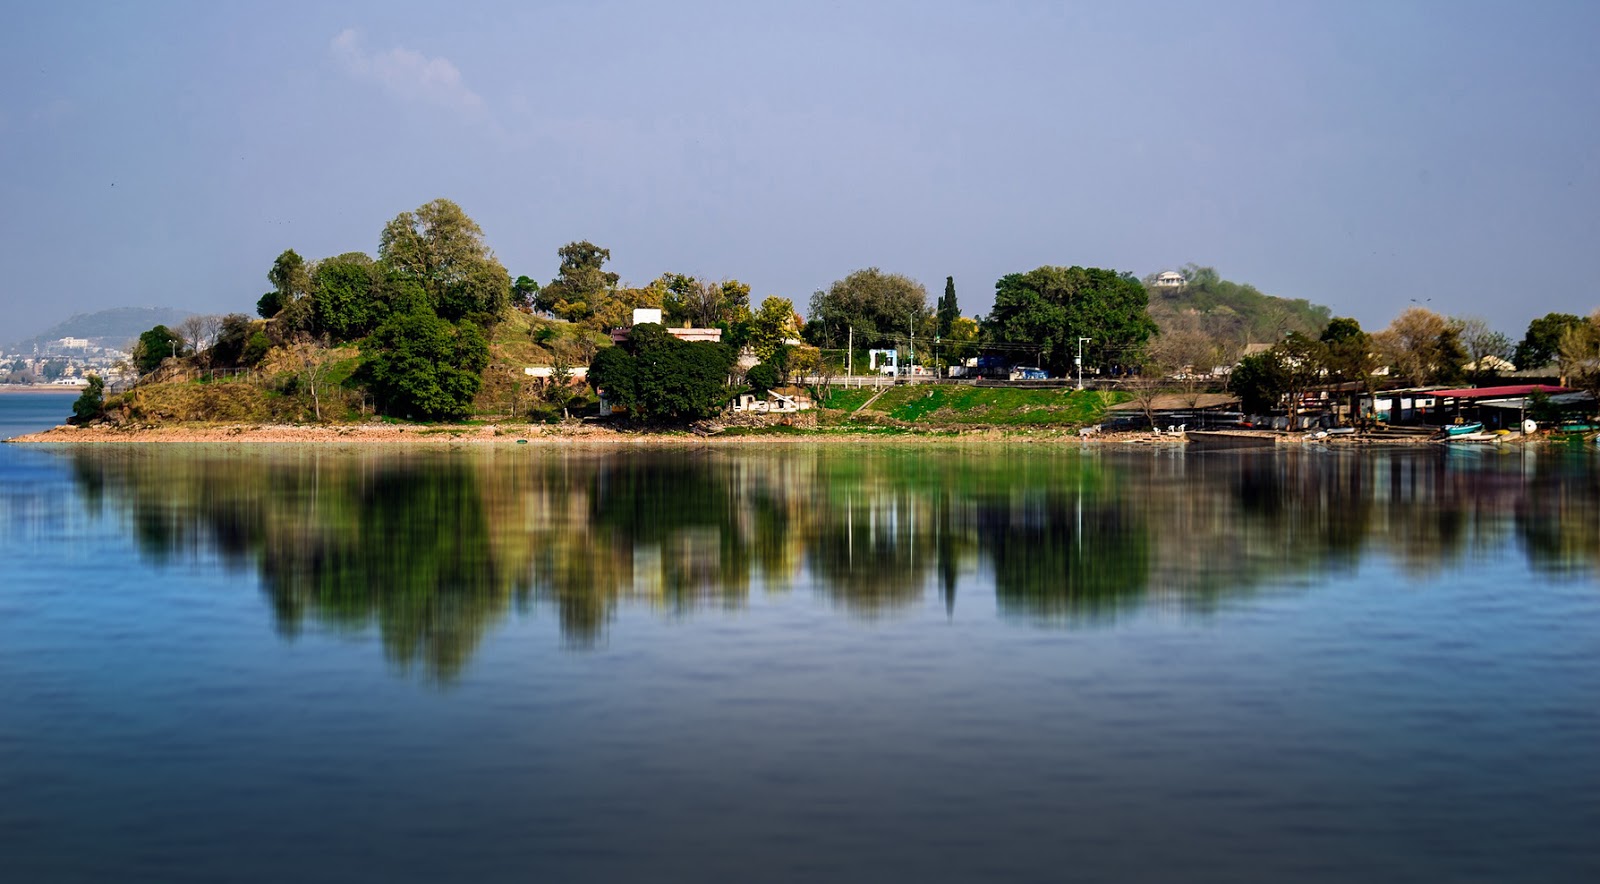
  • How to Create Water Reflection | Photoshop Tutorial

    How to Create Water Reflection | Photoshop Tutorial

    In this tutorial I am showing how to create realistic water reflection in Photoshop.

    Video Tutorial

    Images Credit: