Learn Transparent Text Effect in Photoshop using blending option
1-Open your background image in Photoshop.
2-Select Text tool, choose fonts and color is black and type your text, Press Ctrl+A to make selection of whole canvas, select move tool and click on align horizontal and vertical centers and then resize it by pressing Ctrl+T.
3-Select Background layer, take rectangular tool (U) set color white and draw a shape now press Ctrl+A select move tool and then click on align vertical and horizontal centers and decrease the opacity a bit.
4-Make text layer active and decrease the fill to 0%. Right click on text layer click on blending options. Change the Knockout from none to Shallow, and that’s it.
Learn how to Color Grade an Image using Adjustment layer in Adobe Photoshop.
1-Open your image in Photoshop
2-Duplicate the layer and change blend mode from normal to overlay and then go to filter>Other>High Pass and then change the radius vale according to your choice.
3-Create a new Vibrance layer from bottom of layer panel and play with Vibrance where it looks good.
4-Create a new Gradient Fill Layer, choose the color white and black, change the style from Linear to Radial, mark Reverse and scale it up according to your choice, change the direction and then click OK and then Change the blend mode from normal to multiply and decrease opacity a bit.
5-Create one new Gradient Map layer, choose the black and white color, change blend mode from normal to soft light and then decrease the opacity 60-70%.
6-Create one another Gradient Map layer, double click on left angle and choose color dark blue and right side color light orange and change the blend mode from normal to soft light and then decrease the opacity 70-80%
7-Create a new Curves adjustment layer and play with curves.
8-Create a new blank layer, take soft brush tool select orange color and brush twine, change the blend mode from normal to Linear Dodge. Now press Ctrl+T (Transform) and resize it and bring it to top of the image.
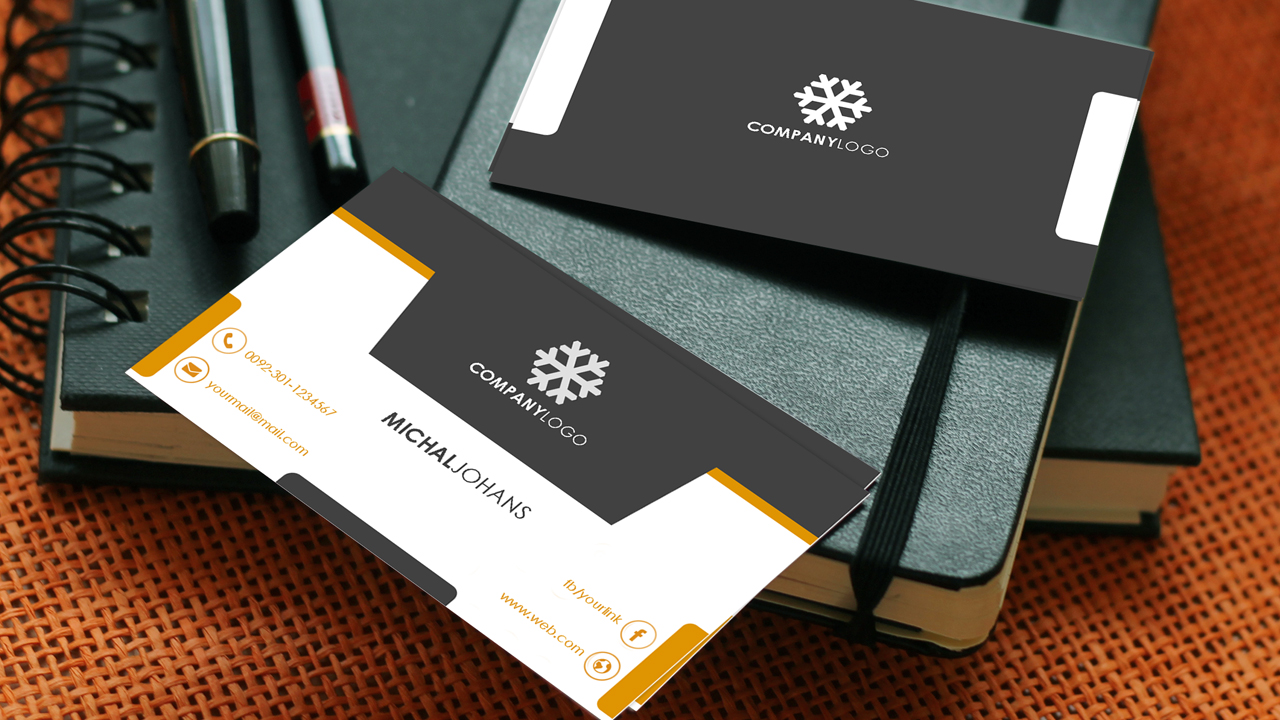
2-Take rectangle tool and draw a shape for header then double click on layer thumbnail which we have draw using rectangle too and choose the color. In this video I choose #df9402 color.
3-Draw one new rectangle shape a little bit upper of bottom layer or you can duplicate the layer and move a bit upper to the bottom layer than change color into black. In this video I choose #414141 color.
4-Take rectangle tool again and draw a new shape W:4.80cm H:2.15cm. Now align it horizontal centers by pressing Ctrl+A and click on Align Horizontal centers from the properties bar. Make sure you have selected Move tool, otherwise it will not show you properties bar of alignment. Press Ctrl+D to deselect.
5-Now press Ctrl+T and than right click than click on perspective than move a corner perceptively according to your choice. By Pressing Ctrl+T you can resize and adjust it according to your choice.
6-Place your logo above the last drawn shape.
7-Now take rounded rectangle tool (radius 18px) and draw a little shape in the bottom left side corner. double click on the layer thumbnail and choose the color. Press Ctrl+T resize and adjust it where it looks good. Duplicate this layer or press Alt then drag this shape to the right side corner.
Place your social icons and adjust it where it looks fine. Take text tool and click on everywhere in the canvas, type your text according to social icons change the color and then align it. duplicate the text layer or you can also duplicate by pressing Alt and left click and then dag it to the another social icons. double click on the thumbnail of text layer then change the text. Similarly type your name as you typed the social icon information.
Update policy: Free updates during lifetime Tech support policy: Free tech support Version: 3.4.4 Download size: 11.7 MB Supported OS and other system requirements: Window 7/8/10 Additional requirements: Microsoft Office 2007/2010/2013/2016/2019/365; WPS Office Free/Professional Short program description: iSlide is an all-in-one PowerPoint add-in that saves you 90% of time in presentation design. Long/full program description:
Take your PowerPoint presentation to the next level with iSlide, the all-in-one PowerPoint add-in. iSlide is not a PowerPoint alternative. It might not be a standalone application, but it adds new rich features to already well-known MS PowerPoint, helping you make stunning slides with ease.
Featuring powerful one-click design tools and 200,000+ built-in professional templates, icons, diagrams, pictures and other resources, it fills the gap left by Microsoft PowerPoint and can save you up to 90% of time in presentation design.
With iSlide, you can easily create a professional PowerPoint deck by only three steps: 1- Select a theme 2- Insert diagrams/pictures/icons with a mouse click 3-Apply an appropriate color scheme to all the slides
12 main features: 1. One-click Optimization. A variety of parameterized settings allow you to rapidly establish a uniform standard of PowerPoint text and then make a professional presentation report. 2. Design Layout. Just select a graphic and let iSlide assist you in one-click circular/matrix duplication. A variety of parameterized settings meet your individual design needs. 3. Theme Library. Designed by professional designers, the Theme Library contains themed fonts/colors/guides/layout presets. 4. Color Library. Rock PowerPoint theme colors just like change “skin”. Well-matched color schemes allow you to click and replace. 5. Diagram Library. With 4000+ continuously updated PowerPoint diagrams, the iSlide Diagram Library provides more powerful resources and usage methods to help designers quickly make professional presentations, commercial road shows and more. 6. Icon Library. Icons make the information more intuitive and easy-to-understand. 7. Smart Diagram. Boasting the maximum editability, the Smart Chart allows you to change the icons (100k + icons available) and data (the graphics of the chart will automatically adjust with the value) at any time. 8. Picture Library. It collects high-quality free pictures under the Creative Commons Protocol that can be used anywhere. It allows quick search and one-click insertion. 9. Vector Library. Insert huge number of vectors from the library by just a click. 10. Join Images. Join Images feature allows designers to quickly create prototype images without using PS. Generate a long image by just one click, best for viewing on Facebook, Instagram and other mobile browsers. 11. Security Export. Export important PowerPoint documents as non-editable format and videos and images with various parameterizations. 12. File Analysis. Analyze your file in a snap
2-Take crop tool and crop the image’s important part.
3-Now we have to remove background. First we have to unlock the layer by double clicking on layer. Now take pen tool and make selection of the object, when you reach the starting point of the pen tool selection then right click and click on make selection, Now press Ctrl+J to duplicate the selected area.
4-Now add solid color between the original layer and duplicated layer.
REMOVE SCRATCHES
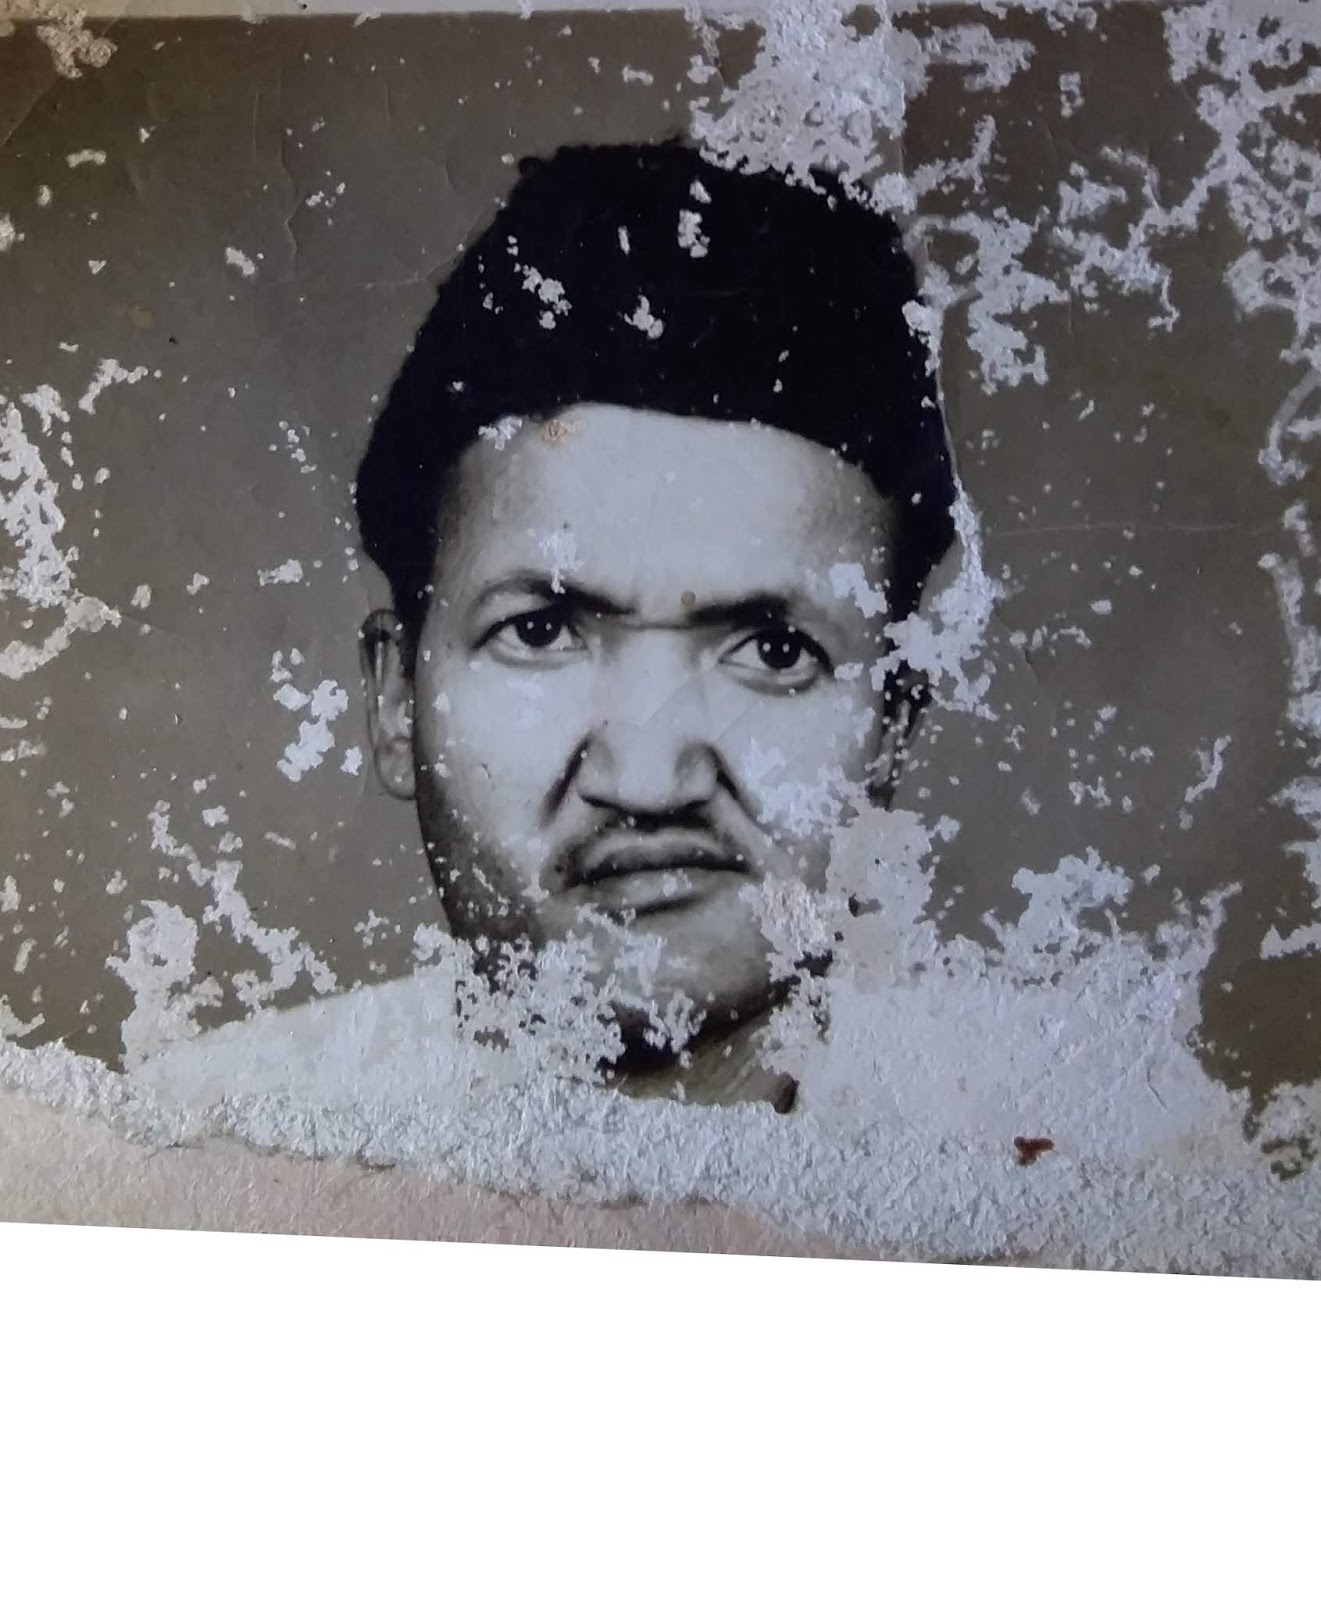
5-Select the duplicated layer and take Clone stamp tool. Press Alt and choose similarly place for scratches. when you select a place then left Alt key and simply click on scratch. It will replace the scratches with place of you taken a sample by pressing Alt. Similarly do on face, cape, nose, ear.
Somewhere it is not possible to find details of image’s to remove scratches. You can see this image’s left side beard, bottom side beard, neck and clothes. We use here a techniques to repair it.
Now we want to repair left side beard. you can see we can’t find the details or not possible to take sample for cloning. Here the right side beard is clear so we have to copy the right side beard to replace left side beard.
6-Take Lasso tool and make selection of right side beard than press Ctrl+J (to duplicate) Press Ctrl+T right click on it and then click on flip horizontal and bring it to left beard side. Now decrease the opacity of layer to see details of original image, again press Ctrl+T and then rotate it or resize it and warp it according to the original image. When you adjust it then increase the opacity of layer. Now add Layer mask and take soft brush tool and then brush on the edges of the layer. now press Ctrl+E to merge with the bottom layer. Now you can see mostly scratches are replaced.
Now repair the bottom side of beard. Here is we cannot find any similarly place to select and copy and replace the bottom side of beard. We have to find any other matching beard image for our image.
7-Place other’s image and make selection of bottom beard and press Ctrl+J to duplicate the selected area. Make it black and white by pressing Ctrl+U drag the Saturation angle to -100. Take soft eraser tool and erase the edges. add blur a little bit(Filter>Blur>Gaussian Blur) to match background beard. Similarly do same steps for neck and cloth replacing.
COLORIZING
8- Create a solid color layer for colorizing the image (#f79843) and change the blend mode from ‘Normal’ to ‘Color’ and then invert the layer mask (Ctrl+I)
9-Take soft brush tool decrease the opacity 15-20% and brush it on face where you want to colorize the image. after adding color.
10-Create a new blank layer and press Ctrl+Shift+Alt+E it will merge all layers in one new layer. duplicate the all merged layer and change the blend mode from normal to overlay. Now to Fiter>Other>High Pass it according to your choice, and then merge these two layers by pressing Ctrl+E.
11- Create one new blank layer. Take soft brush tool, take sample color by pressing Alt key and brush it on where it is not colorized.
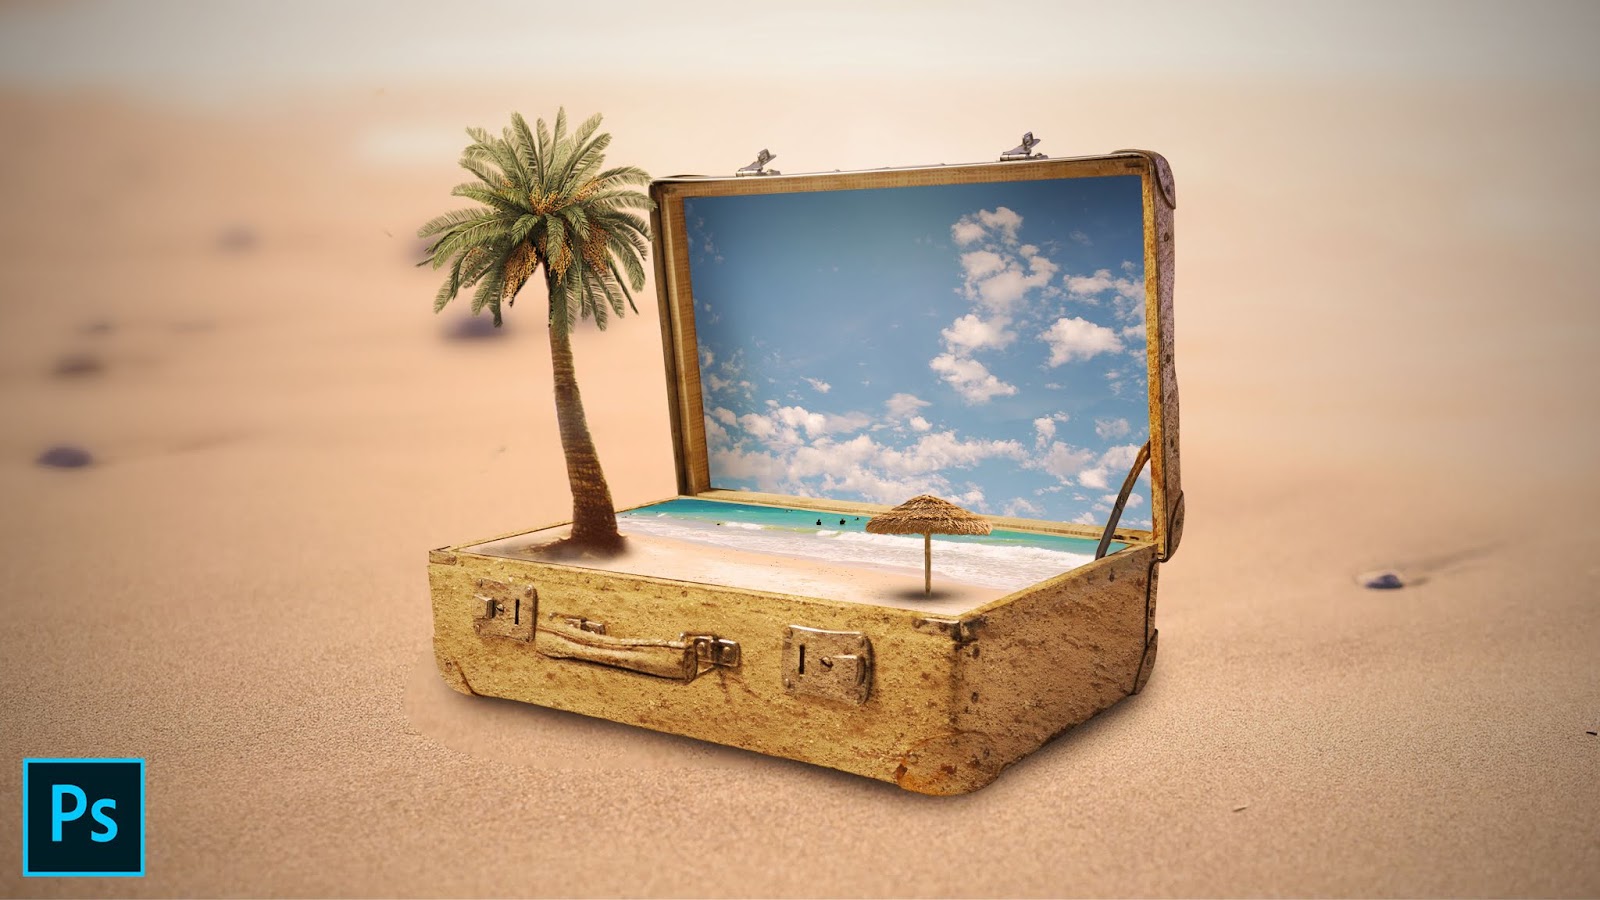
In this video tutorial I am going to show how to create 3D Mobile Effect in Photoshop.
Step by Step
1-Open your mobile background image in Photoshop.
2-Take any of selection tool of your choice and make selection of mobile screen and duplicate the selection by pressing Ctrl+J.
3-Now place the background image and adjust it and then right click on layer then click on clipping mask.
4-Place train track image decrease the opacity to see background image. Press Ctrl+T and resize it prospectively. Make selection of mobile screen by pressing Ctrl key and then click on Mobile Screen layer’s thumbnail. Now take Polygonal Lasso Tool and click on ‘Add to Selection’ from the property bar and make selection of train track only. After making selection then click on the layer mask from the bottom side of layers tab. Now erase all other parts except the train track.
5-Add a new color balance layer and match the color with background.
6-Place boy image, make selection of model with any of your choice selection tool. After making selection duplicate it or add layer mask to it. Press Ctrl+T to resize it and match with the background.
7-Create a new layer for shadow at the bottom of model. Take soft brush tool and brush it to create shadow.
8-Add a new color balance layer from the bottom of the layer tab and match the color with the background.
9-Place birds image and adjust it according to your choice.
10-Create a new blank layer, take soft brush tool for yellowish shine. and brush it once. Now press Ctrl+T and adjust it at top of the image, Change the blending mode from normal to Linear Dodge and then decrease the opacity of to 25-35%.
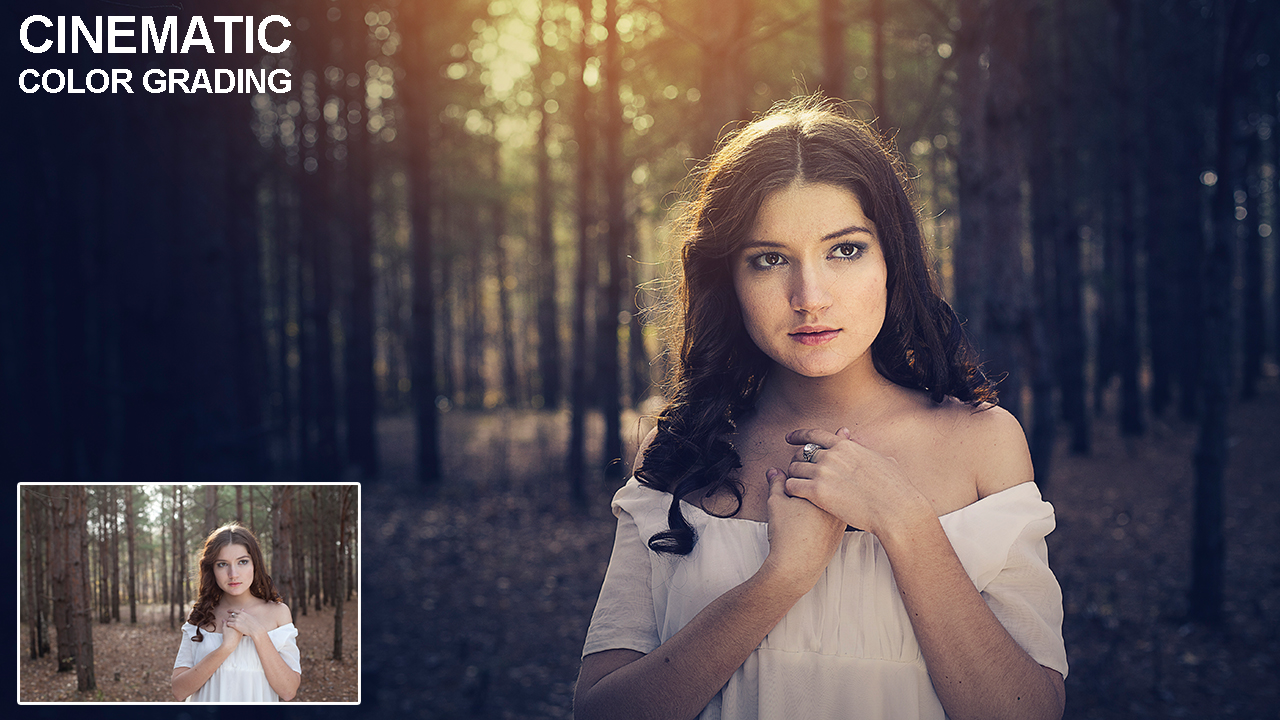
Cinematic Color Grading | How to Change Background | Photoshop Tutorial
In this video tutorial I am going to show how to add cinematic color effect on your photo and how to change background and also you will learn how to blur background in Adobe Photoshop.
You will also learn from this video:
–How to color grading
–How to blur background
–How to add lights
–How to match subject with background
–How to create shadow
–How to highlight and dark model according to light
Step by Step
1-Open Photoshop and create a new document (1280x720px)
2-Place your background image and adjust it. Right click on placed background layer and click on Rasterize Layer. Press Ctrl+U and move the Saturation angle to -100 and then click OK.
3-Duplicate layer and go to filter>blur>guassian blur and change the value according to your choice. Now click on layer mask from bottom of the layer panel, take gradient tool set foreground color black and background color is transparent and then drag it from bottom to center and from side, to hide blurred layer. You can also use brush tool.
4-Create a new blank layer take soft brush tool and set foreground color white and decrease the opacity to 5-10% and brush it for lights.
5-Place model image take any of your choice selection tool and make selection of model and then click on add layer mask right click on layer click on rasterize layer and right click on layer mask click on apply layer mask and then adjust it on background. Now go to Image>Adjustment>Brightness/Contrast decrease the brightness and increase the saturation according to your choice where it looks good.
6-Take dodge tool and brighten the edges according to where from lights is coming.
7-Press Ctrl+U and decrease the saturation angle a little.
8-Create a new blank layer bottom of the model for shadow, take soft brush decrease the opacity of brush and create shadow.
9-Create one new brightness/contrast adjustment layer, decrease the brightness and then invert the mask by pressing Ctrl+I. Take soft brush decrease the opacity of brush at 15-20% set the foreground color white and background color black and brush it to dark some area for light shadow.
10-Create one new Color Lookup adjustment layer, change the 3D Lut file to HorrorBlue and then decrease the opacity.
11-Create one new gradient map layer set the color black and white change the blend mode from normal to overlay and then decrease the opacity.
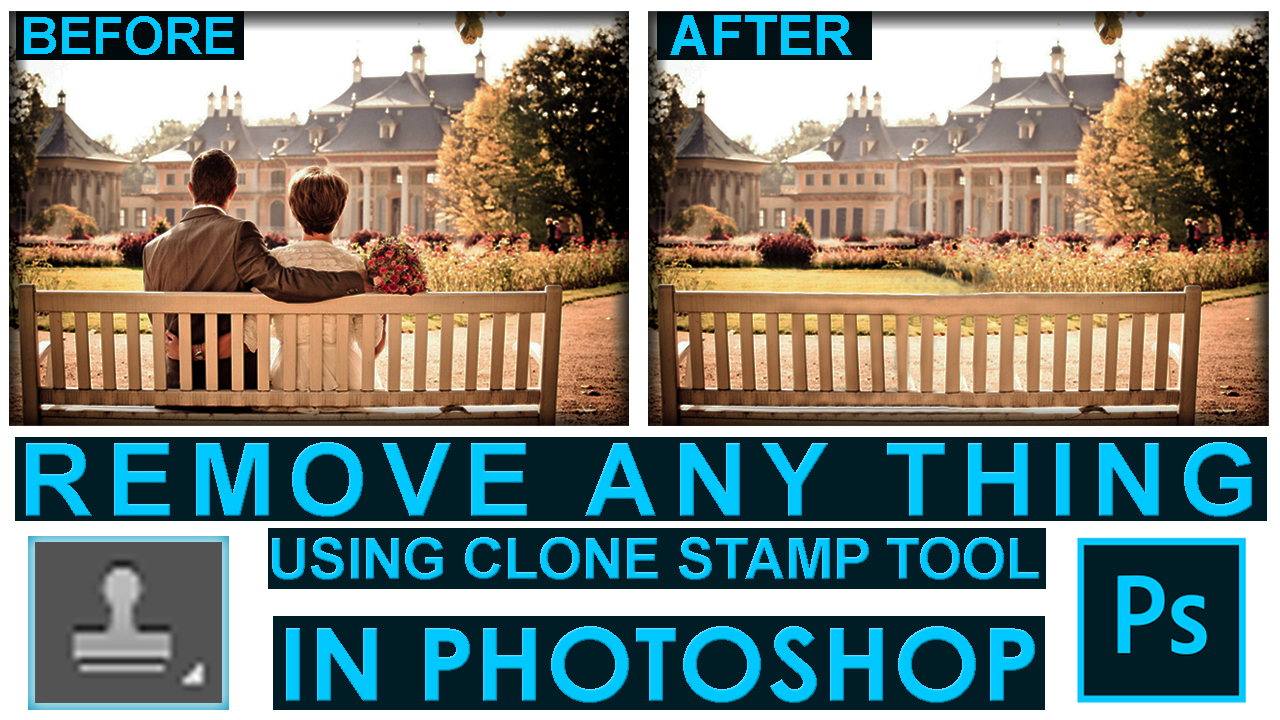
In this video, you will learn how to remove anything from a photo using clone stamp tool in Photoshop.
The Photoshop clone stamp tool allows you to copy one area of an image and paste it to another area of an image. It’s extremely easy to use by pressing Alt key to take a sample area of an image and paint it on another area of an image. Clone stamp duplicates one area to another area essentially, the clone stamp tool replaces pixels with pixels and makes any retouching look invisible.
The clone stamp has been a standard tool in Photoshop since the beginning. It is used by photographers and designers to remove unwanted elements from a photo and replace them with another piece. It is common to use it to retouch blemishes on people’s faces or remove any unwanted elements but can be useful for any subject and any graphic.
SHORTCUT KEYS
Space : To move image each around Alt+Mouse Wheel: To zoom in or zoom out. Ctrl+J: Duplicate Layer Ctrl+D: Deselect Alt on Clone stamp tool: To take a sample area of an image