Category: Photo Retouching

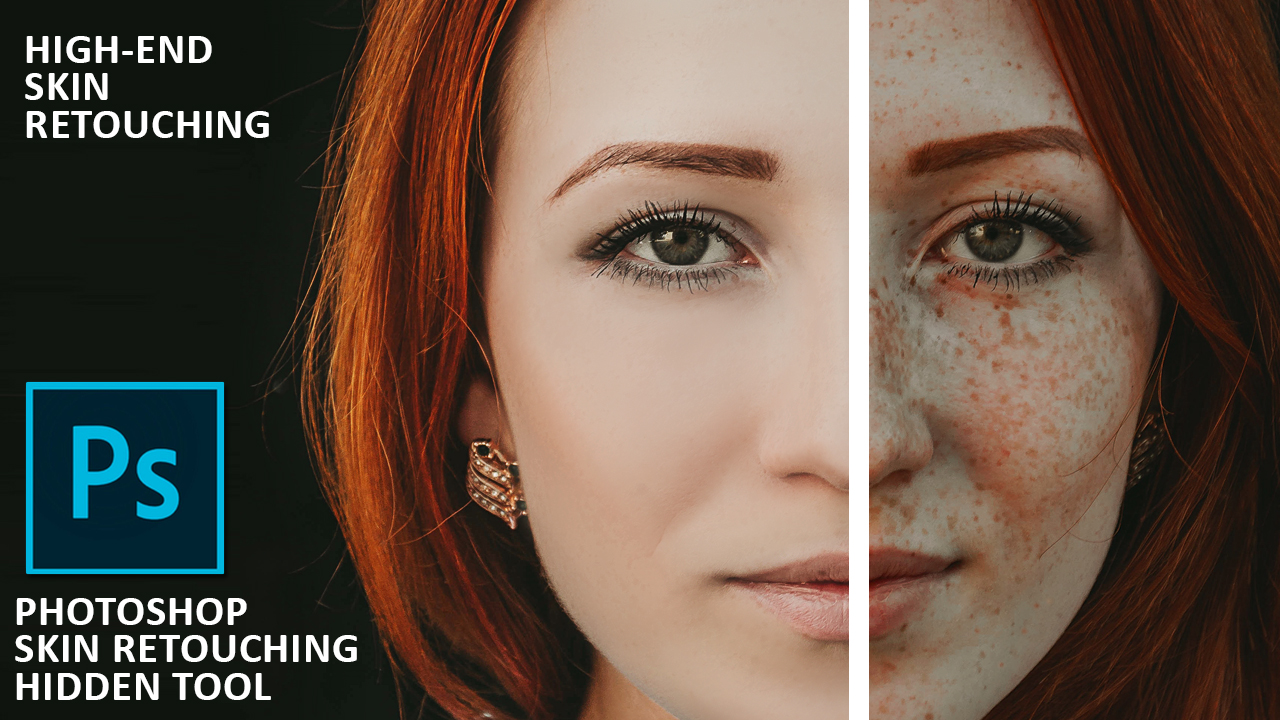
  • Skin Retouching | Smooth Skin and Remove Blemish & Scares in Photoshop

    Skin Retouching | Smooth Skin and Remove Blemish & Scares in Photoshop

    Skin Retouching | Smooth Skin and Remove Blemish & Scares in Photoshop


    VIDEO TUTORIAL


    STOCK DOWNLOAD

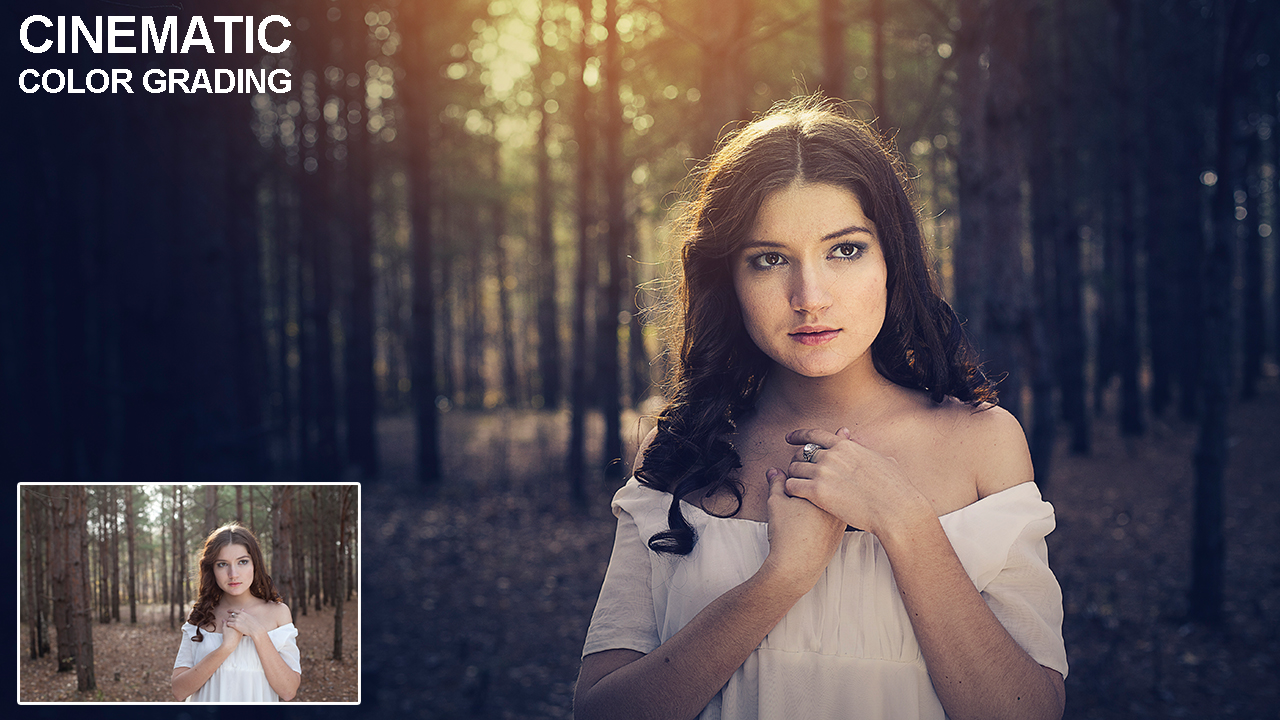
  • Cinematic Color Grading in Photoshop | Photoshop Tutorial

    Cinematic Color Grading in Photoshop | Photoshop Tutorial

    Cinematic Color Grading in Photoshop | Photoshop Tutorial | Al Qadeer Studio

    Step by Step

    Learn how to Color Grade an Image using Adjustment layer in Adobe Photoshop.

    1-Open your image in Photoshop

    2-Duplicate the layer and change blend mode from normal to overlay and then go to filter>Other>High Pass and then change the radius vale according to your choice.

    3-Create a new Vibrance layer from bottom of layer panel and play with Vibrance where it looks good.

    4-Create a new Gradient Fill Layer, choose the color white and black, change the style from Linear to Radial, mark Reverse and scale it up according to your choice, change the direction and then click OK and then Change the blend mode from normal to multiply and decrease opacity a bit.

    5-Create one new Gradient Map layer, choose the black and white color, change blend mode from normal to soft light and then decrease the opacity 60-70%.

    6-Create one another Gradient Map layer, double click on left angle and choose color dark blue and right side color light orange and change the blend mode from normal to soft light and then decrease the opacity 70-80%

    7-Create a new Curves adjustment layer and play with curves.

    8-Create a new blank layer, take soft brush tool select orange color and brush twine, change the blend mode from normal to Linear Dodge. Now press Ctrl+T (Transform) and resize it and bring it to top of the image.


    Stocks

  • How to Repair Damaged Photo | Old Photo Restoration in Photoshop

    How to Repair Damaged Photo | Old Photo Restoration in Photoshop

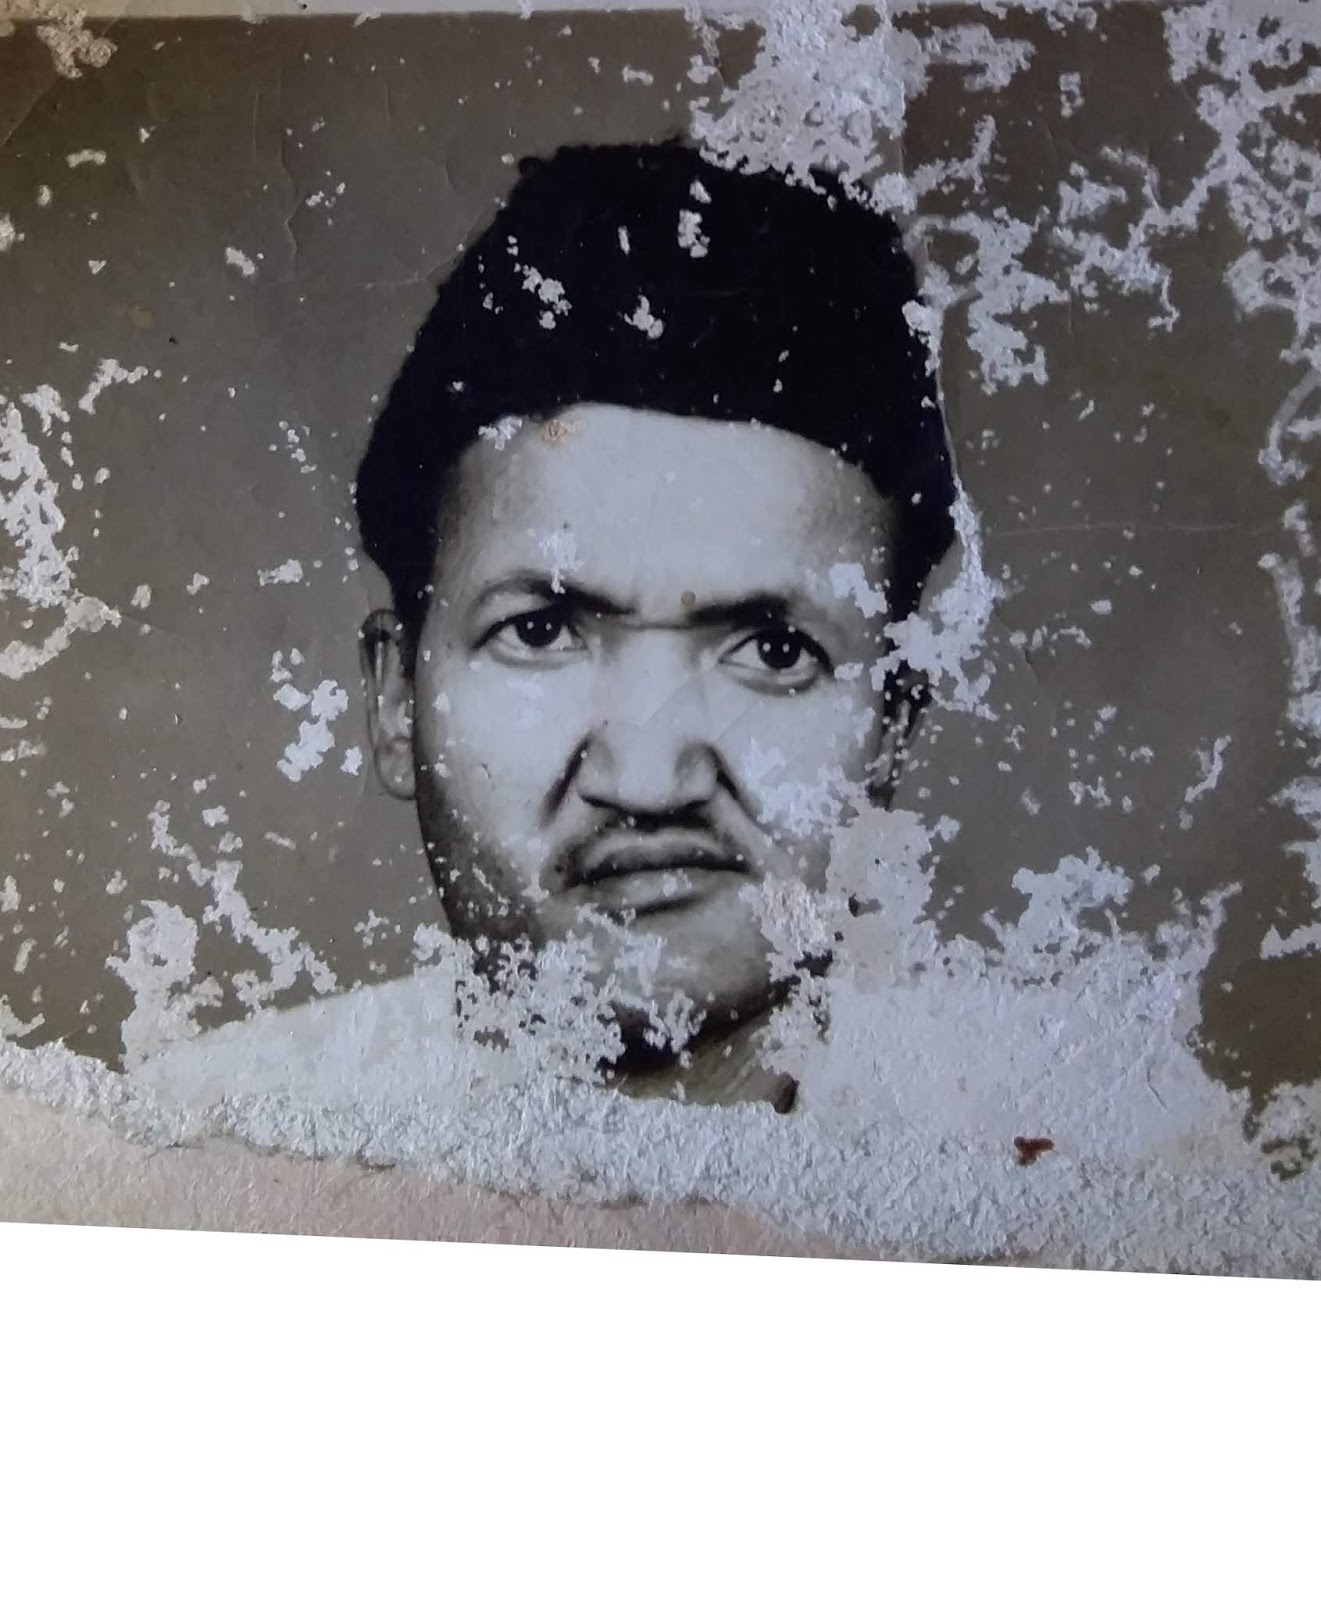
    In this Video tutorial you will learn How to Repair Damaged Photo, Removing Scratches, Replace Cloth, Colorizing and retouching in Adobe Photoshop.
    How to Repair Damaged Photo | Old Photo Restoration in Photoshop | Al Qadeer Studio


    Step By Step
    1-Open your damaged photo in Photoshop.

    2-Take crop tool and crop the image’s important part.

    3-Now we have to remove background. First we have to unlock the layer by double clicking on layer. Now take pen tool and make selection of the object, when you reach the starting point of the pen tool selection then right click and click on make selection, Now press Ctrl+J to duplicate the selected area.

    4-Now add solid color between the original layer and duplicated layer.


    REMOVE SCRATCHES

    5-Select the duplicated layer and take Clone stamp tool. Press Alt and choose similarly place for scratches. when you select a place then left Alt key and simply click on scratch. It will replace the scratches with place of you taken a sample by pressing Alt. Similarly do on face, cape, nose, ear.


    Somewhere it is not possible to find details of image’s to remove scratches. You can see this image’s left side beard, bottom side beard, neck and clothes. We use here a techniques to repair it.

    Now we want to repair left side beard. you can see we can’t find the details or not possible to take sample for cloning. Here the right side beard is clear so we have to copy the right side beard to replace left side beard.

    6-Take Lasso tool and make selection of right side beard than press Ctrl+J (to duplicate) Press Ctrl+T right click on it and then click on flip horizontal and bring it to left beard side. Now decrease the opacity of layer to see details of original image, again press Ctrl+T and then rotate it or resize it and warp it according to the original image. When you adjust it then increase the opacity of layer. Now add Layer mask and take soft brush tool and then brush on the edges of the layer. now press Ctrl+E to merge with the bottom layer. Now you can see mostly scratches are replaced.

    Now repair the bottom side of beard. Here is we cannot find any similarly place to select and copy and replace the bottom side of beard. We have to find any other matching beard image for our image.

    7-Place other’s image and make selection of bottom beard and press Ctrl+J to duplicate the selected area. Make it black and white by pressing Ctrl+U drag the Saturation angle to -100. Take soft eraser tool and erase the edges. add blur a little bit(Filter>Blur>Gaussian Blur)  to match background beard. Similarly do same steps for neck and cloth replacing.


    COLORIZING

    8- Create a solid color layer for colorizing the image (#f79843) and change the blend mode from ‘Normal’ to ‘Color’ and then invert the layer mask (Ctrl+I)


    9-Take soft brush tool decrease the opacity 15-20% and brush it on face where you want to colorize the image. after adding color.


    10-Create a new blank layer and press Ctrl+Shift+Alt+E it will merge all layers in one new layer. duplicate the all merged layer and change the blend mode from normal to overlay. Now to Fiter>Other>High Pass it according to your choice, and then merge these two layers by pressing Ctrl+E.

    11- Create one new blank layer. Take soft brush tool, take sample color by pressing Alt key and brush it on where it is not colorized.


    TIMESTAMPS

    0:26 -First Step CROPPING 0:52 -Removing Background 2:03 -Removing Scratches 4:56 -Repairing Left Beard 9:14 -Repairing Bottom Beard 11:46 -Repairing Neck 13:55 -Replacing Cloth 15:48 -Coloring 17:14 -Retouching

    KEYBOARD SHORTCUTS I USED.

    Ctrl+T – Transform
    Ctrl+J – Duplicate Layer
    Ctrl+Alt+Z -Undo
    Ctrl+D – Deselect
    Ctrl – Select Multiple Layers
    Space – Move Image each around
    Alt – On brush tool to select sample of color
    Alt – On Clone Stamp Tool to take sample of place
    Alt+Mouse Wheel – Zoom in, Zoom Out
    Ctrl+E – Merge Selected Layers
    Ctrl+U – Open Hue/Saturation
    Ctrl+Shit+Alt+E – Merge All Layers into one new layer

    Images I Used:

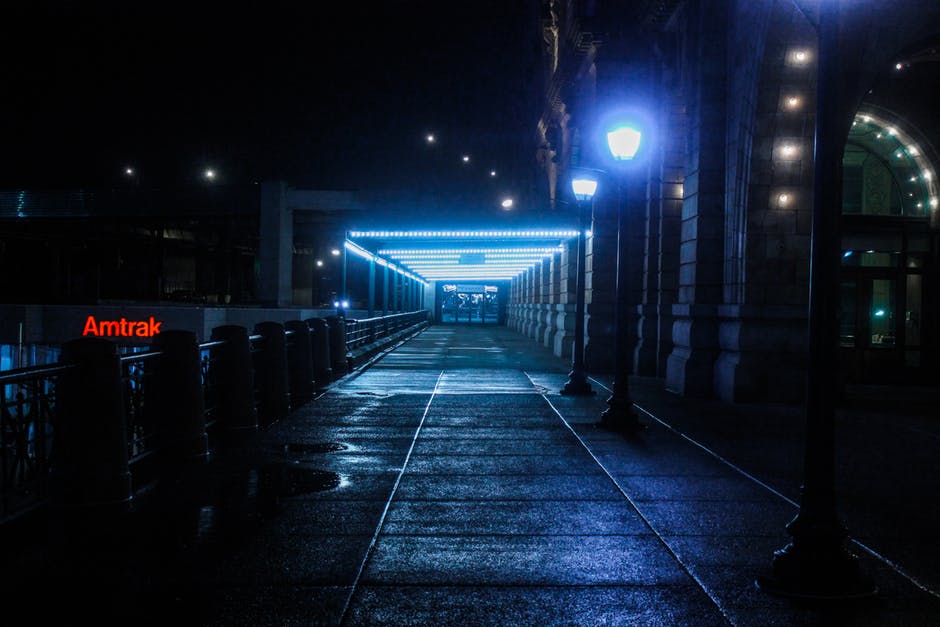
  • Cinematic Color Grading | How to Change Background | Photoshop Tutorial

    Cinematic Color Grading | How to Change Background | Photoshop Tutorial

    Cinematic Color Grading | How to Change Background | Photoshop Tutorial


    In this video tutorial I am going to show how to add cinematic color effect on your photo and how to change background and also you will learn how to blur background in Adobe Photoshop.
    You will also learn from this video:
    –How to color grading
    –How to blur background
    –How to add lights
    –How to match subject with background
    –How to create shadow
    –How to highlight and dark model according to light

    Step by Step

    1-Open Photoshop and create a new document (1280x720px)
    2-Place your background image and adjust it. Right click on placed background layer and click on Rasterize Layer. Press Ctrl+U and move the Saturation angle to -100 and then click OK.
    3-Duplicate layer and go to filter>blur>guassian blur and change the value according to your choice. Now click on layer mask from bottom of the layer panel, take gradient tool set foreground color black and background color is transparent and then drag it from bottom to center and from side, to hide blurred layer. You can also use brush tool.
    4-Create a new blank layer take soft brush tool and set foreground color white and decrease the opacity to 5-10% and brush it for lights.
    5-Place model image take any of your choice selection tool and make selection of model and then click on add layer mask right click on layer click on rasterize layer and right click on layer mask click on apply layer mask and then adjust it on background. Now go to Image>Adjustment>Brightness/Contrast decrease the brightness and increase the saturation according to your choice where it looks good.
    6-Take dodge tool and brighten the edges according to where from lights is coming.
    7-Press Ctrl+U and decrease the saturation angle a little.
    8-Create a new blank layer bottom of the model for shadow, take soft brush decrease the opacity of brush and create shadow.
    9-Create one new brightness/contrast adjustment layer, decrease the brightness and then invert the mask by pressing Ctrl+I. Take soft brush decrease the opacity of brush at 15-20% set the foreground color white and background color black and brush it to dark some area for light shadow.
    10-Create one new Color Lookup adjustment layer, change the 3D Lut file to HorrorBlue and then decrease the opacity.
    11-Create one new gradient map layer set the color black and white change the blend mode from normal to overlay and then decrease the opacity.
    Model
    Background

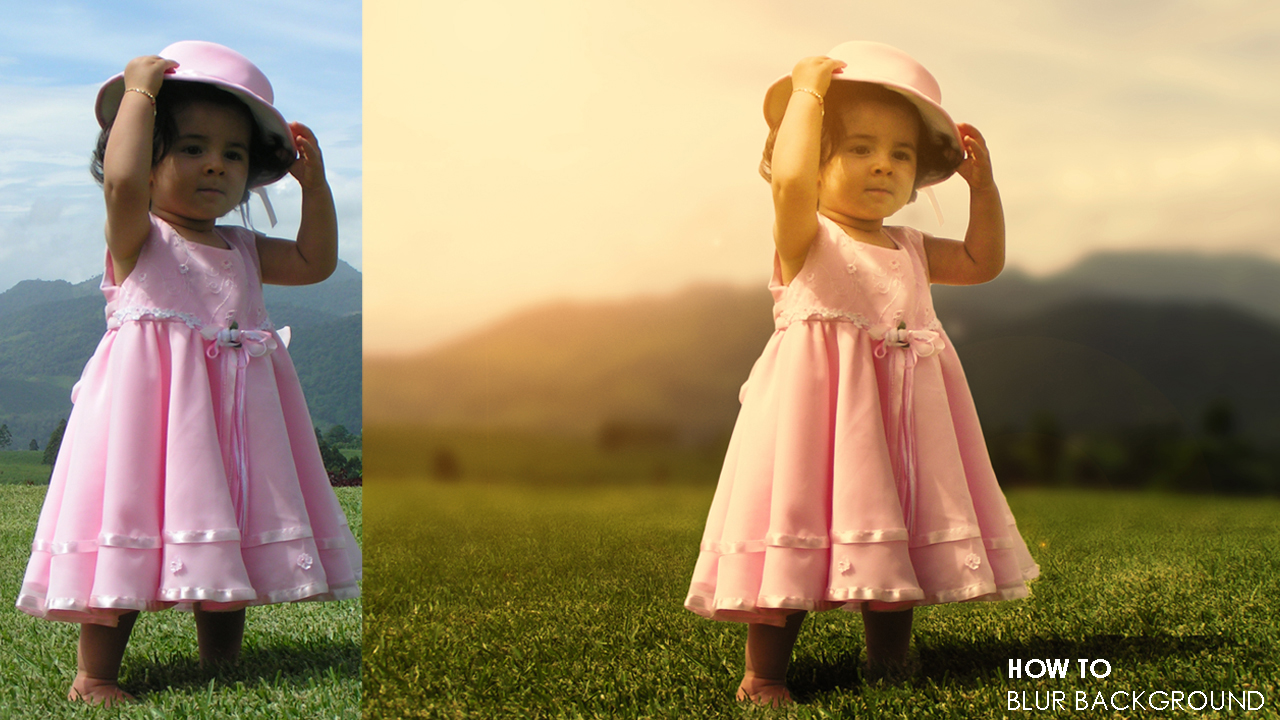
  • How to add sun lights | How to blur background in Photoshop | Part-2-2

    How to add sun lights | How to blur background in Photoshop | Part-2-2

    In this part-2 video tutorial you will learn how to add sun lights to photos in Adobe Photoshop.

    Part-1: https://youtu.be/79DLQB1kMXQ

    Image Credit: 

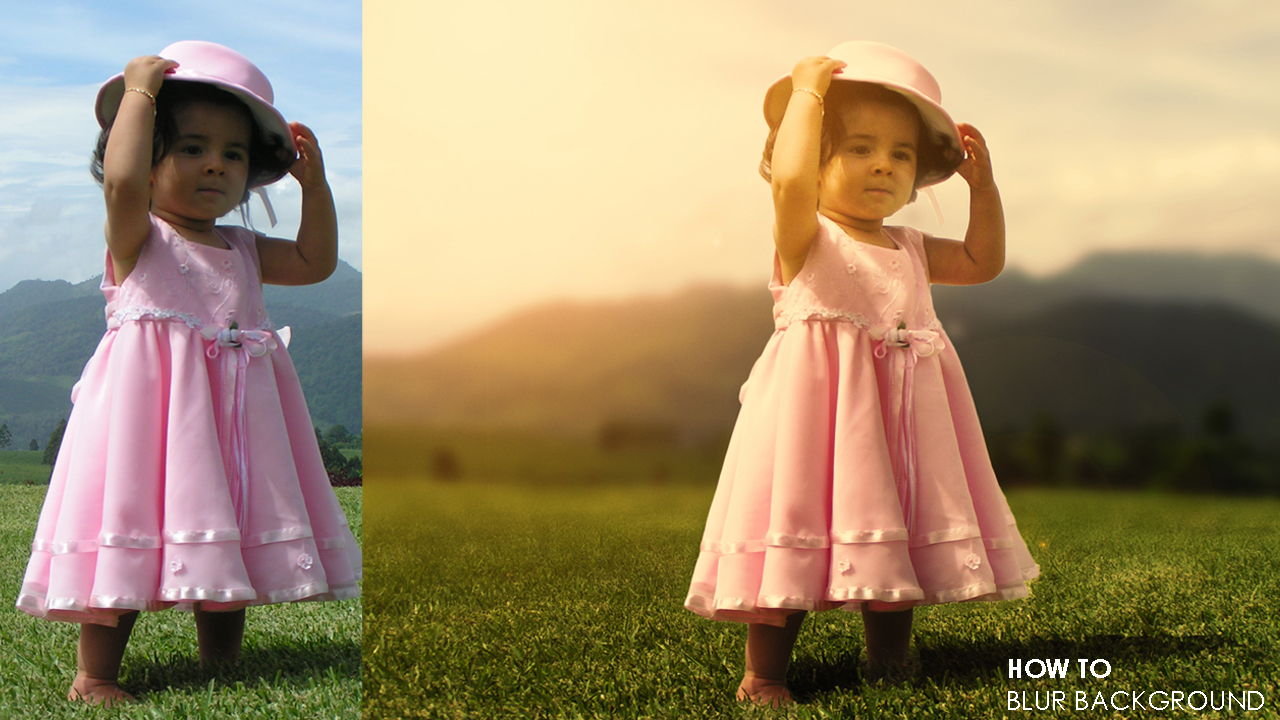
  • 2  Simple Steps to Blur Background in Photoshop | Part-1-2

    2 Simple Steps to Blur Background in Photoshop | Part-1-2

    In this video tutorial you will learn How to blur background in Photoshop with 2 simple steps.

    Method-1

    1-Open your image in Photoshop and duplicate it.

    2-Make selection of object and duplicate it by pressing Ctrl+J. Now make selection of duplicated layer by pressing Ctrl and click on layer thumbnail select the bottom layer and go to select>modify>expand change the expand value. Now go to Edit>Fill and select content aware fill and then click OK.

    3-Go to filter>blur>tilt-shift and then change the value and direction according to your choice.

    Method 2


    1-Open your image in Photoshop and duplicate it.

    2-Make selection of object and duplicate it by pressing Ctrl+J. Now make selection of duplicated layer by pressing Ctrl and click on layer thumbnail select the bottom layer and go to select>modify>expand change the expand value. Now go to Edit>Fill and select content aware fill and then click OK and duplicate it.

    3-Go to filter>blur>gaussian blur change the value according your choice.

    4-Add layer mask take gradient tool set foreground color black and background color white and then drag it from down to center.

    Image Credit: 

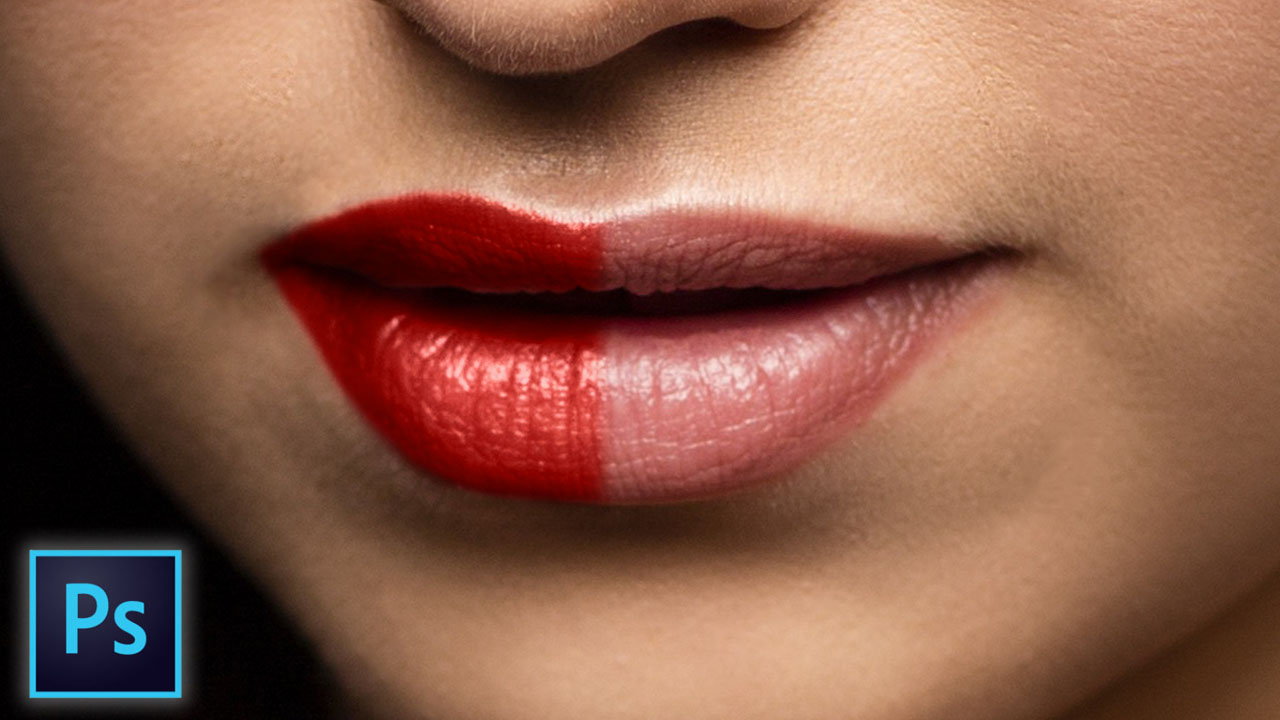
  • How to Create Realistic Lipstick in Photoshop

    How to Create Realistic Lipstick in Photoshop

    Create highly realistic lipstick using a Secret Combination of Blend Modes and different shapes of color in Adobe Photoshop.

    1-Open your Image in Photoshop
    2-Create one new solid red color adjustment layer change the blend mode from normal to multiply and invert it by pressing Ctrl+I.
    3-Take soft brush tool set foreground color white and background color black make the brush size smaller and paint it on lips. When you finish painting then double click on layer or right click on layer and click on blending options.
    4-Move the Underlying Layer’s white angle to darken area press alt key and click on angle to split the angle and play with angles where it looks good.
    5-Duplicate the solid color layer and change the blend mode from multiply to screen.
    6-Double click on layer or right click then click on blending options, move the white angle of underlying layer’s to default (255). Now press alt key and click on black angle of underlying layer to split and then play with these angles where it looks good according to your choice.

    Video Tutorial

    Image: Download

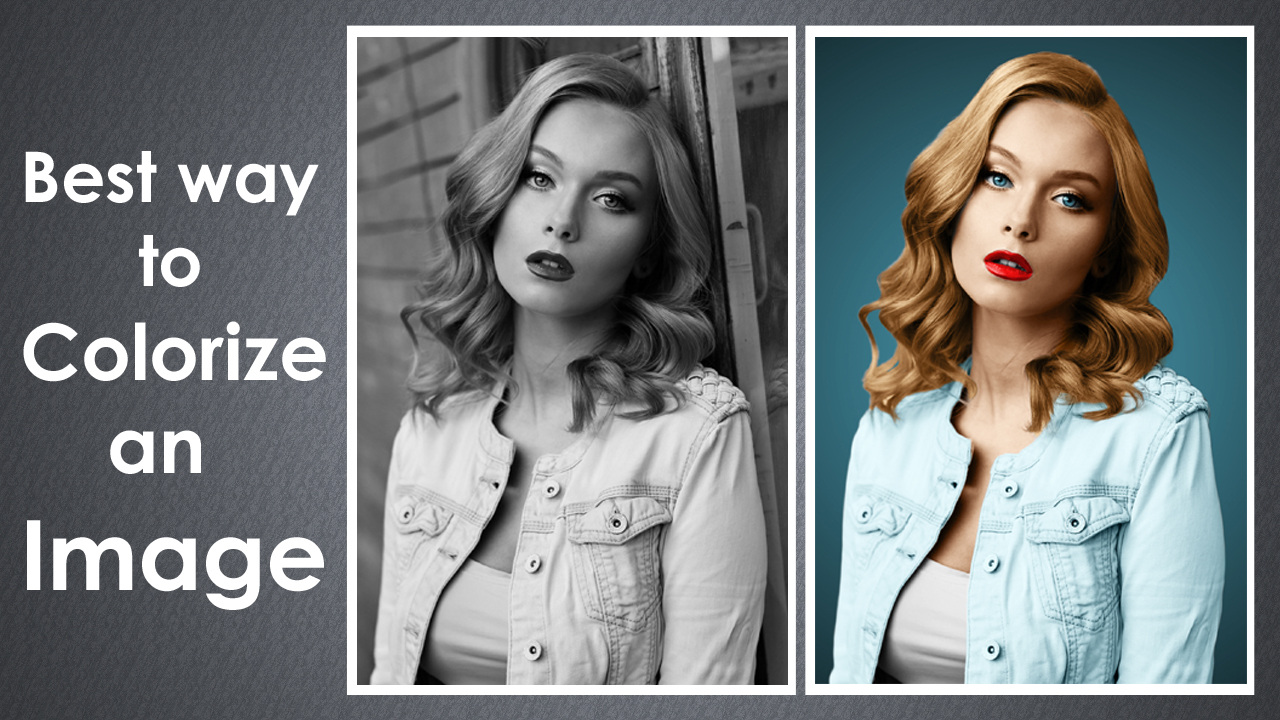
  • Best Way to Colorize Black and White Photo in Photoshop

    Best Way to Colorize Black and White Photo in Photoshop

    In this video tutorial I will show you step by step to colorize black and white photo easily and quickly.

    Video Tutorial

    Image: Download

    Music By: YouTube Audio Library: https://www.youtube.com/audiolibrary/music